|
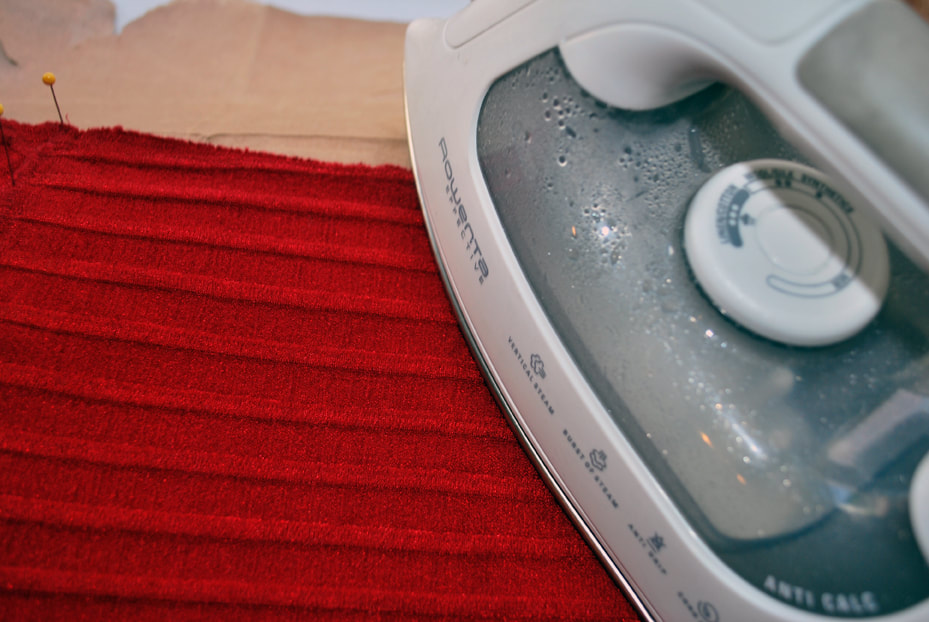
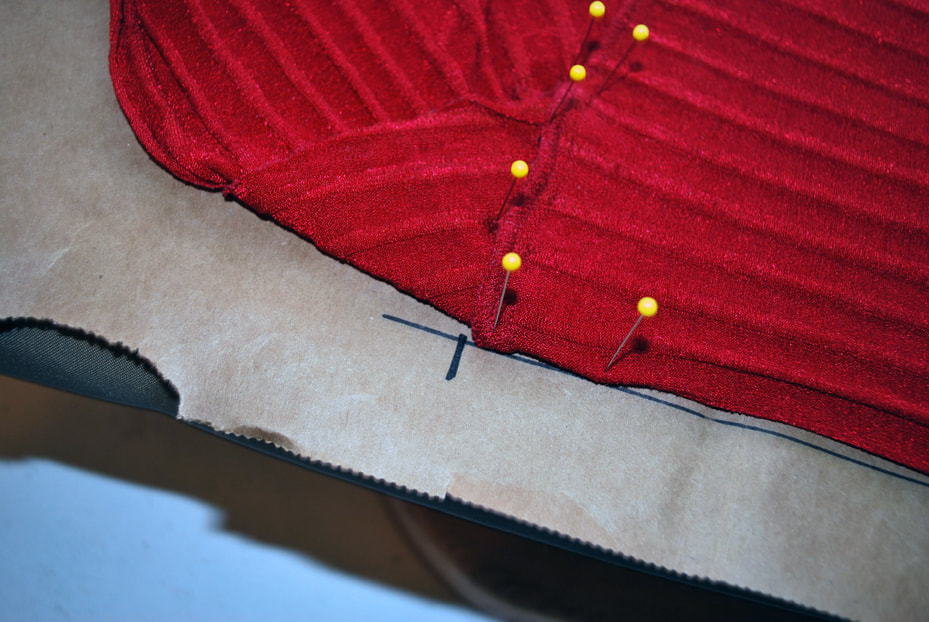
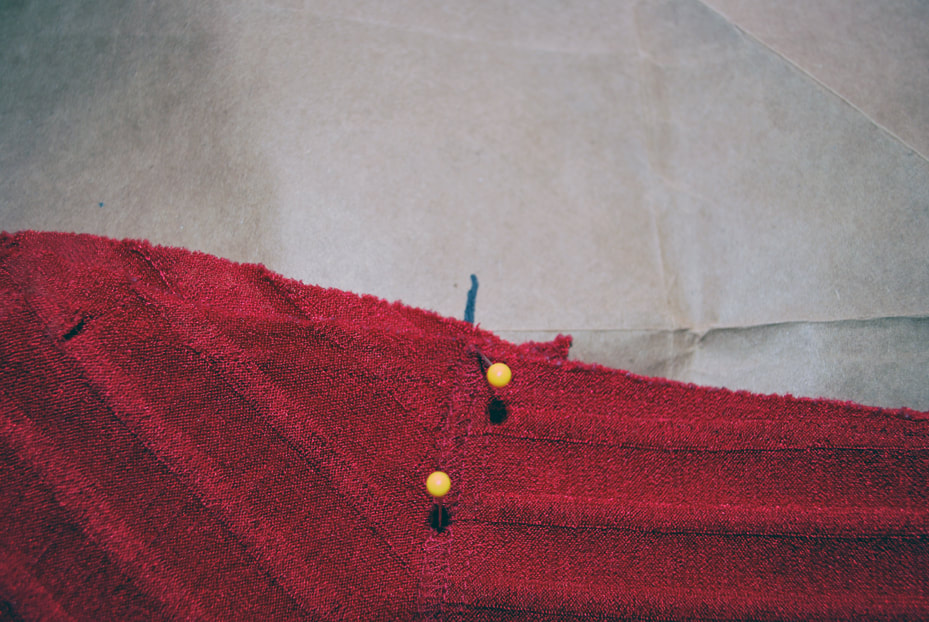
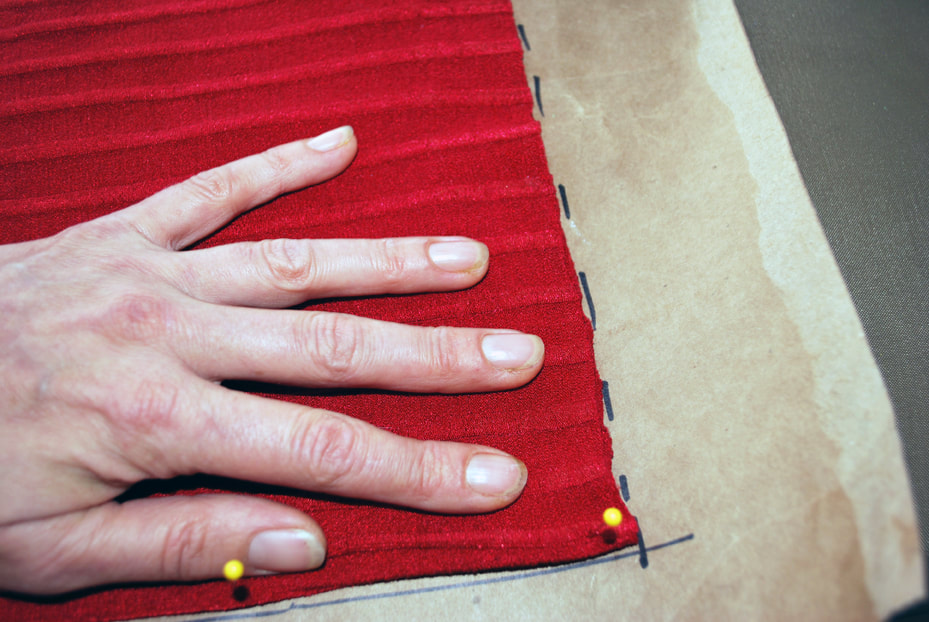
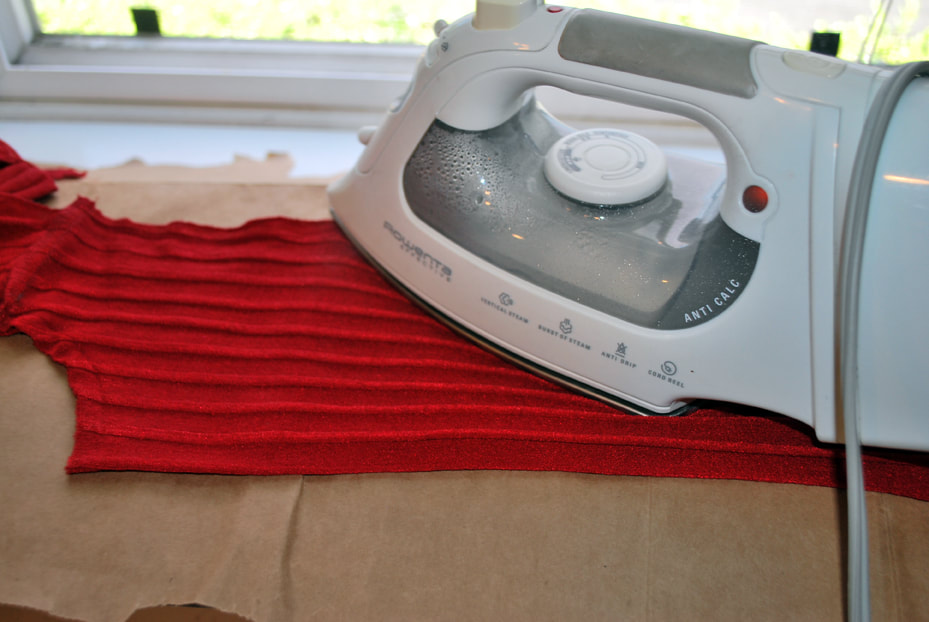
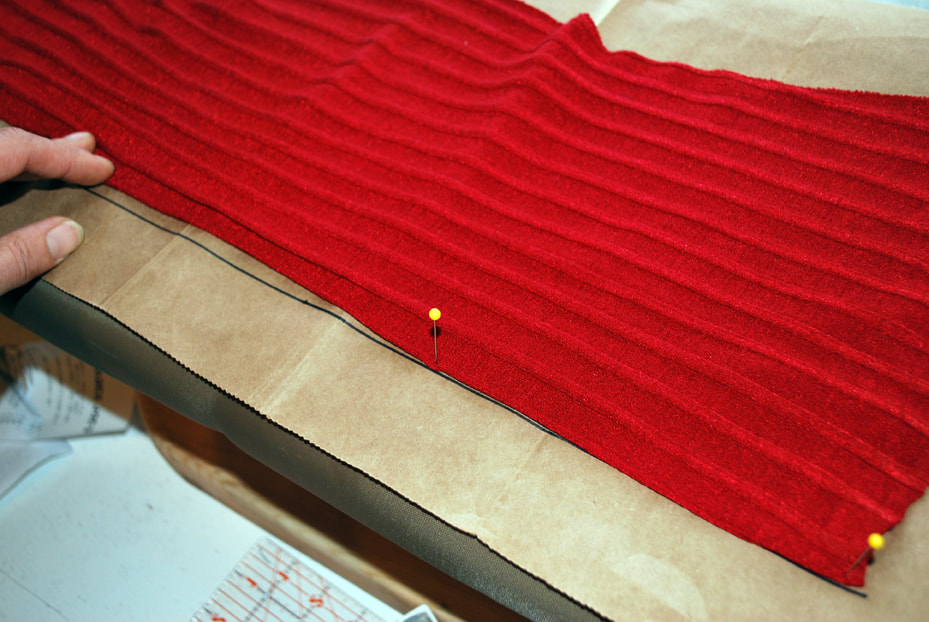
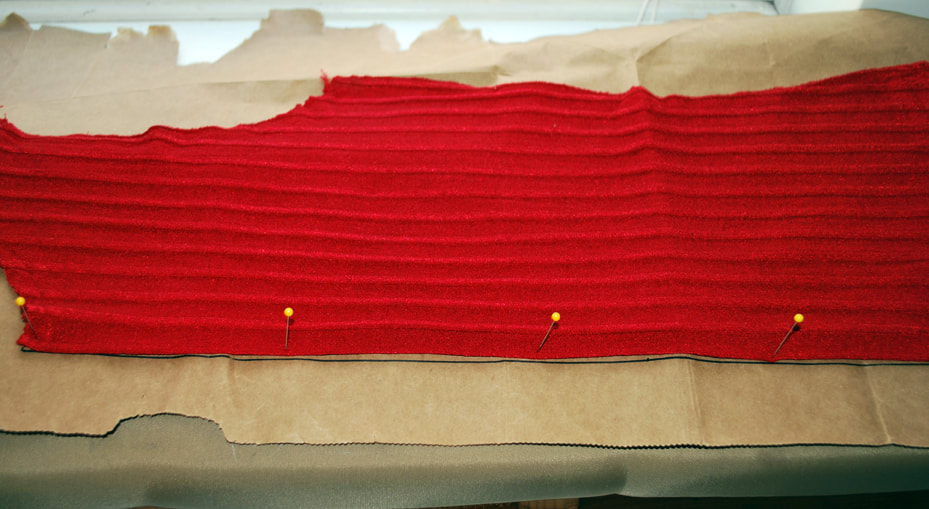
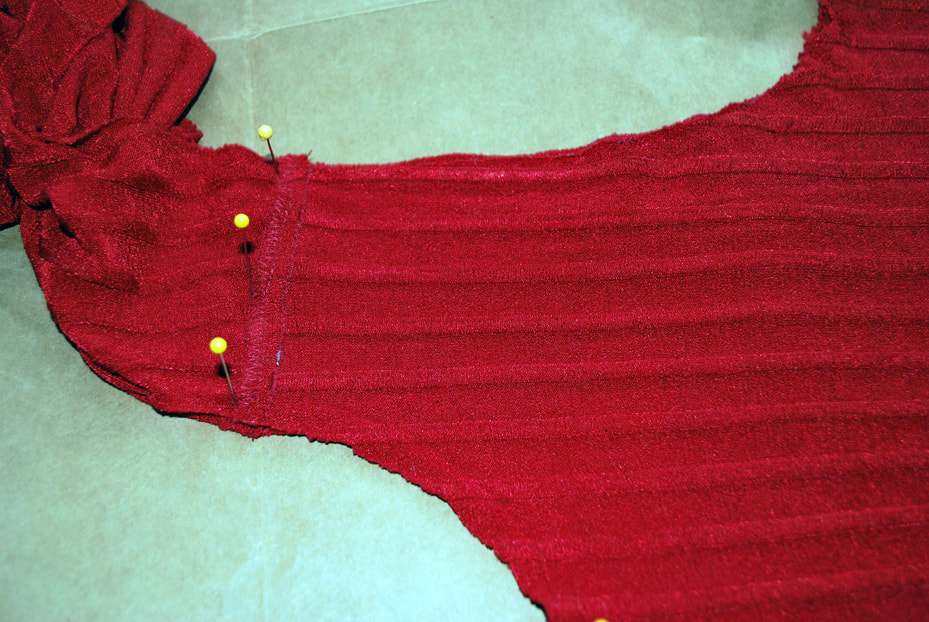
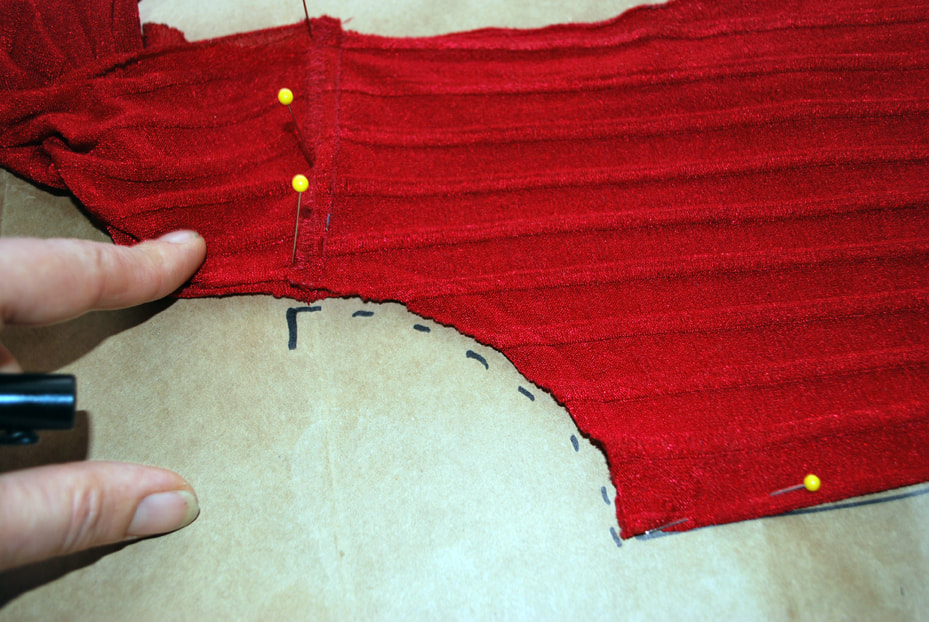
We've patterned the back of our top, and now we'll pattern the front. Well, not the entire front. The top has 3 parts to it: 2 bust pieces and a tummy panel. We'll pattern the tummy panel first, then clean up the pattern, then tackle the bust.
This style of top is called a surplice top, meaning that it has a diagonal crossover on the bust. The name is based on the surplice, a tunic top with wide sleeves worn by clergymen and altar boys. Nowadays they don't look anything like each other, but once long ago the surplice crossed over in front. Here's the patterning process in photo format. Since there are more parts to work with, there's a lot more photos. But really, it's the same process you went through before, with more attention being paid to where pieces fit together.
0 Comments
It's come to my attention that sometimes I speed ahead and just expect people to keep up.
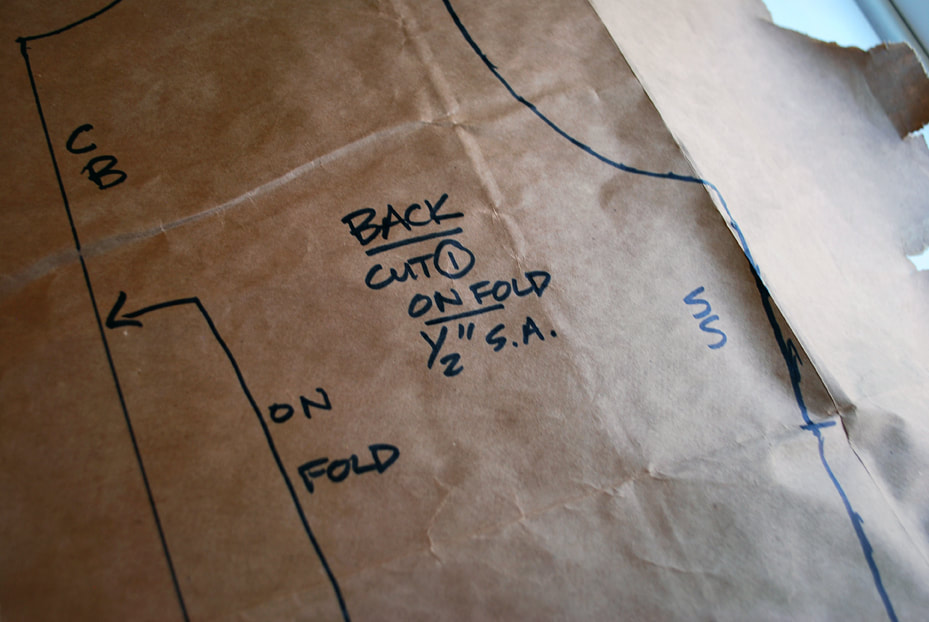
I don't mean to confuse. I've been patterning and sewing and making DIY for so long that I forget to explain myself! Unfortunately, it's kind of like Sherlock Holmes explaining his methods to Watson. It's obvious once you get the details. Here are some definitions of terms that are pretty standard for patterns and sewing. Grain Line is the line on a pattern that follows the grain of the fabric. This concept gets a little complicated, but applying it is easy. Fabric usually has a long side and a shorter side, and it's made up of a bunch of threads. The long side of woven material (the stuff that doesn't stretch) is the part that stays in place while the fabric is being woven. It's also called the lengthwise grain or the warp threads. The shorter side is the crosswise grain or the weft thread. The weft threads are woven in and out of the warp threads, making up the fabric. The lengthwise grain or warp is stronger, because it stays in place during the weaving process. It's less likely to shrink up than the crosswise or weft grain, which has to weave around and can get bunched up or pulled too tightly. So when you're using a pattern, the grain line indicates what part of the pattern piece needs to line up with the lengthwise edge of the fabric. That edge is also called the selvedge or "self-edge" of the fabric. You find it on either side of the length of your fabric. Knit fabrics also have a lengthwise grain, but that's another story. We'll talk on this another time. Just line your grain line up with the selvedge and you'll be fine. Last time we went over how to knock off a pattern from an existing piece of clothing. Now we'll clean up the pattern and make it usable. There's a term we use in patterning called "truing". It means cleaning up the lines, making sure that seams match up (like side seams and shoulders) and writing down any information on how to use the pattern. In short, we're making the pattern stay true to the original. If I use a pattern right after making it, the information is fresh in my mind and I don't need to remember much. If I know I'll be using the pattern again later, I will write myself notes so I don't forget how the pieces went together. If I plan on keeping the pattern for a long time and will re-use it, even more information needs to be written down. If the pattern will be used by someone else, I use pattern standards that the other person will understand. There are pattern making standards for theatrical and opera costumes, for fashion, for commercial patterns and for manufacturing. Naturally, they're all different. Many people are convinced there is only one way, which is their way, which is the right way, and it's different from the "right" way I ran into in the last 4 places I worked. People are like that. Smile, nod and learn as much as you can. There really isn't one "right" way to create a pattern. There are many right ways. It depends on how the pattern will be used, who will use it and the purpose of the final product. But you don't need to learn all the right ways. Here is a method that fashion, theatrical costume, crafts and commercial pattern people will all recognize. They may say it's wrong, but they'll still understand it. So will you. Seam allowances, by the way, are the extra bits added to a pattern so you can sew them together. They are the amount allowed for your seams. I took out the side seams and all the hemming when I started this project, so it was easy to use the original seam allowances by just tracing around the pieces. If you don't want to add seam allowance, label your pattern with NSA (which is shorthand for No Seam Allowance).
There are endless arguments about how much to allow and what makes for a correct seam allowance. Fashion people say one thing, costume people say another, and commercial patterns say yet another thing. Pay no attention. A correct seam allowance is the amount you need to use. Everything else is bickering. Congratulations! You've now patterned a back. We'll tackle the front next time. Ready to start patterning?
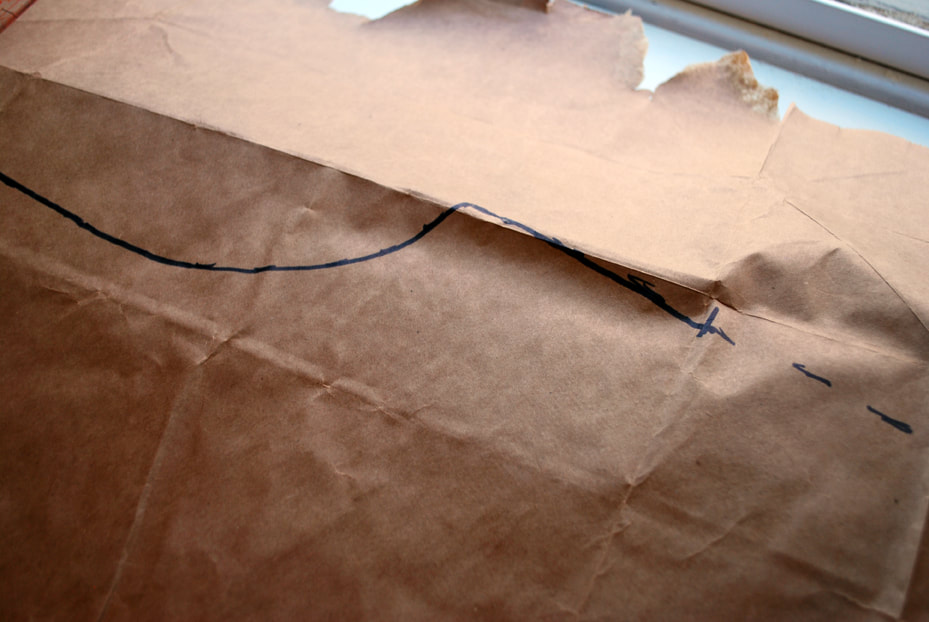
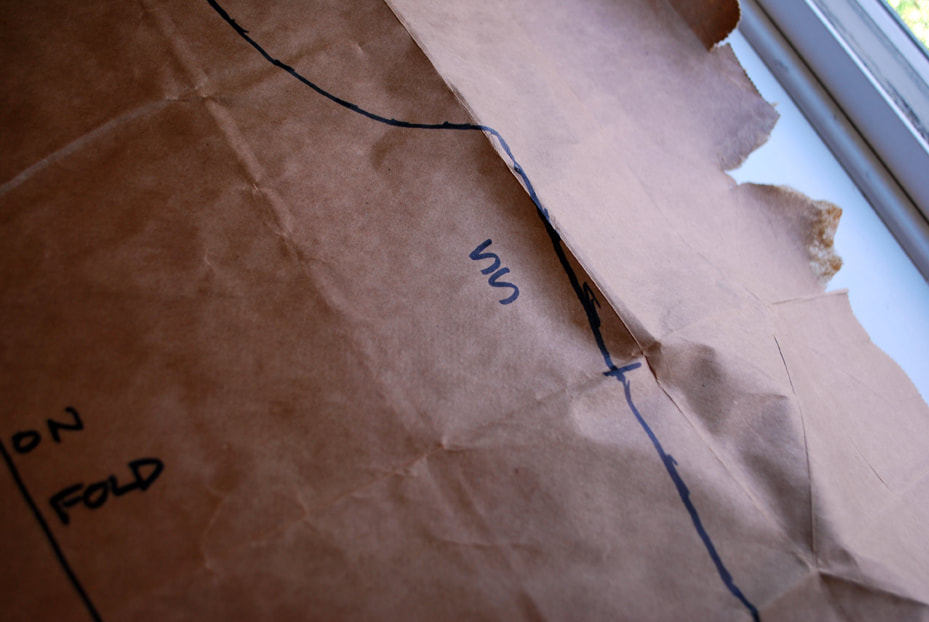
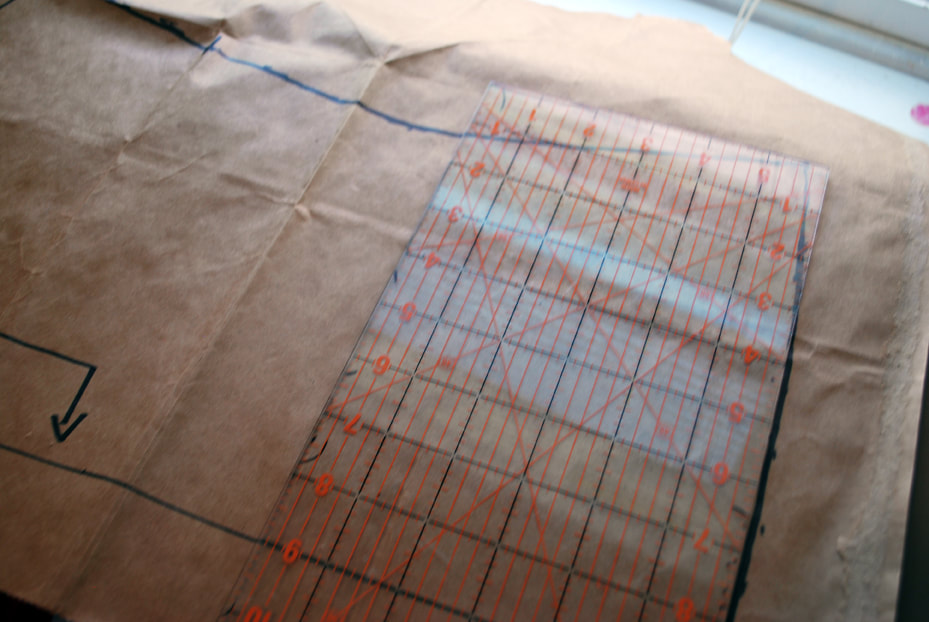
If you've been following the practical posts, you've got the know-how to dissect your knit clothes. Plus you have free pattern paper in the form of old grocery bags. You might even have a worn-out t-shirt or top that fit perfectly and now it's falling apart. So it's time to make the plunge. After all, what have you got to lose? It's an old shirt and some paper bags. Here's the equation: Freshly made pattern paper + freshly dissected clothing = simple pattern making.You'll also want a surface you can pin into (like an ironing board or a dismantled cardboard box), an iron, straight pins, a pencil and a ruler. I'm using quilting pins with little yellow ball tips, but any pins will do. I'm making a pattern from an old top that I like that is pretty close to giving up the ghost. I took out the coverstitched hems on the bottom, around the armholes and the neck. Then I took out the 4-thread overlocked side seams. That's all I need to get started! In this segment, we're patterning the back. Here are the steps in picture format. |
A. Laura Brody
I re*make mobility devices and materials and give them new lives. Sometimes I staple drape. Archives
June 2024
|











 RSS Feed