|
Now we can get that bust panel on paper. For this step, you'll need all of your pattern pieces from before. These are the back pattern and the tummy pattern, also called the lower front. You also need a pen or pencil, a ruler and paper scissors. Get a specific pair of paper scissors. Plastic handled ones are perfect. Paper will dull your scissor blades fast, making them useless for cutting fabric. If you use someone's very expensive fabric scissors on paper, expect a screaming fit. Here are all the steps in photo format: Stuff I Left Out:
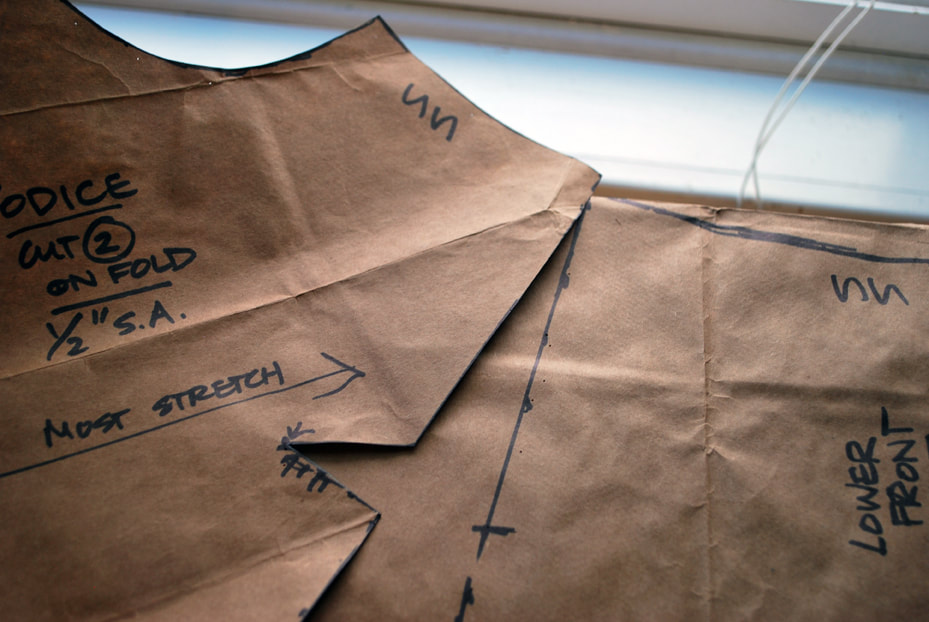
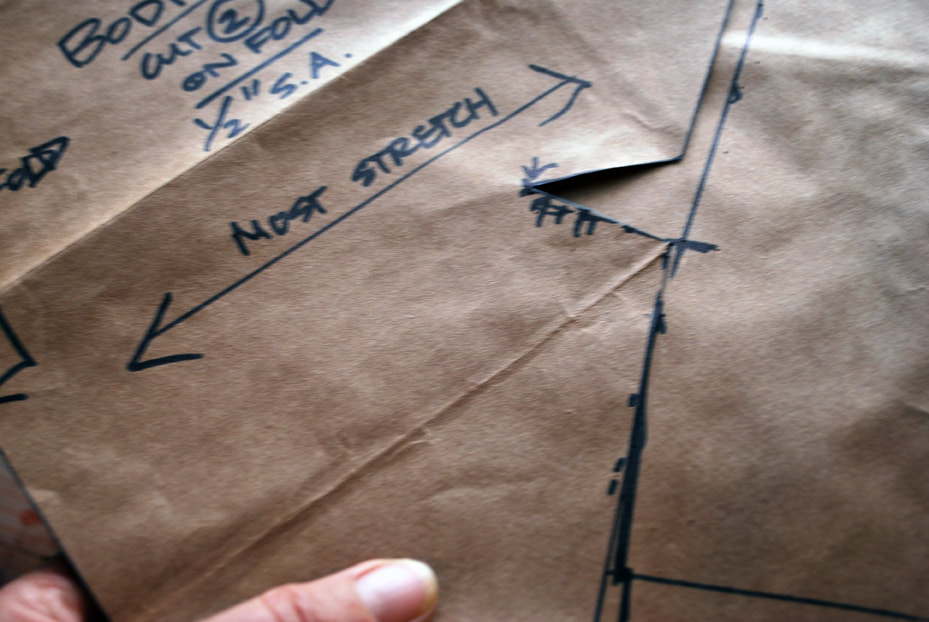
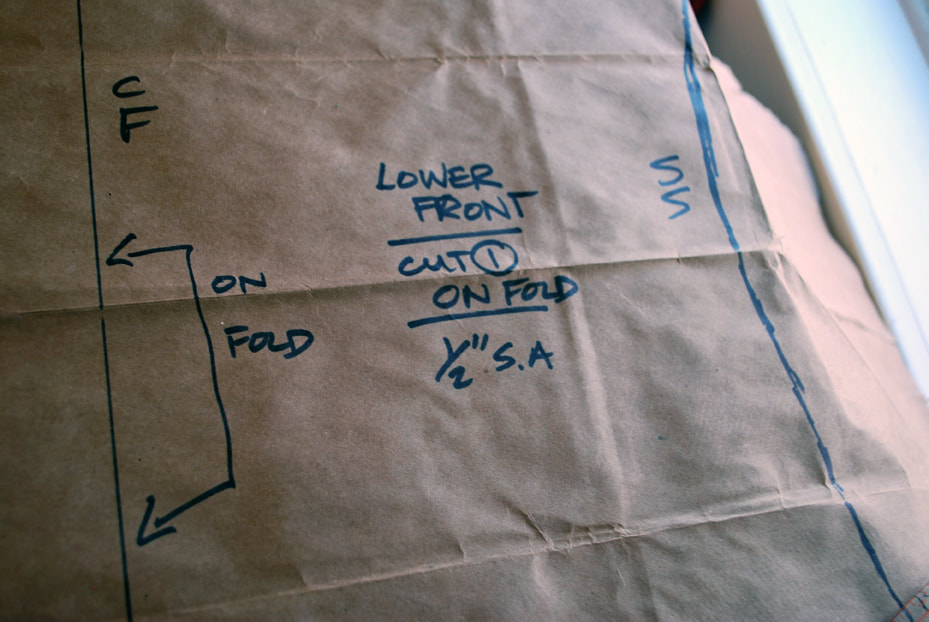
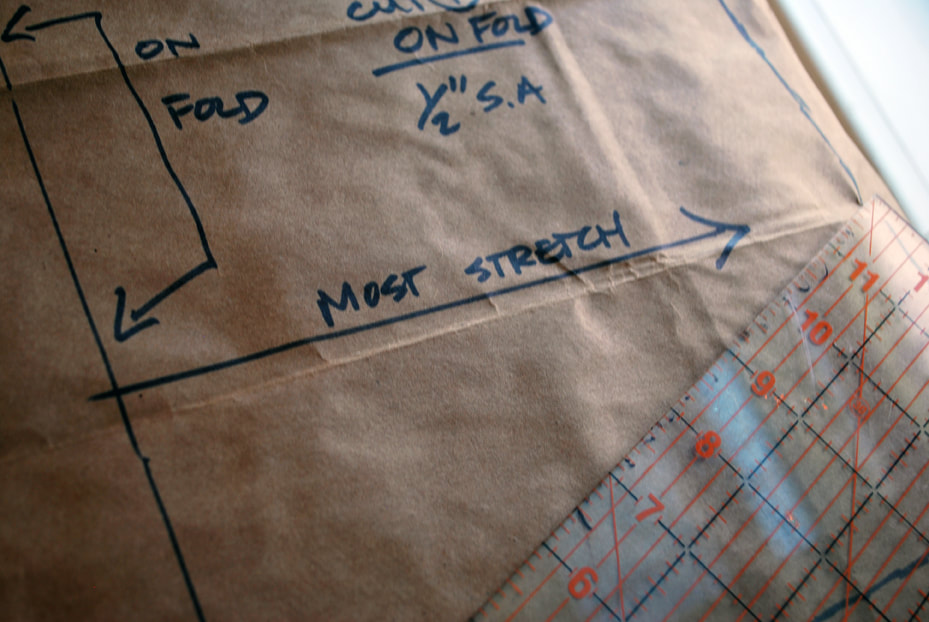
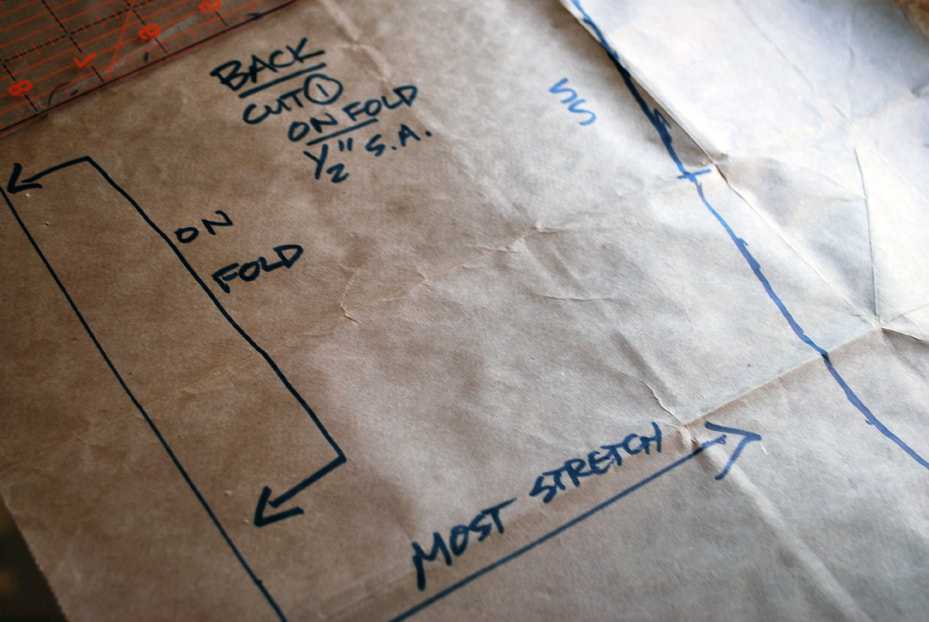
1. I usually don't add seam allowances to my patterns. That's because I was trained to make costume patterns. Costume patterns generally don't have seam allowances added, because you want to be able to add different seam allowances to different areas (like side seams and center backs). This makes the finished costumes easier to alter to people of varying sizes, and means you can rent out the costumes later and help cover your expenses. Fashion patterns do have seam allowances, because they get bulk cut in large quantities and no one wants to spend the time adding allowances. Why is this important? 2. Technically, I should true up my patterns by lining up the actual seam lines, not the edges of the seam allowances. That means I'd need to draw in my seam lines on all my pieces and overlap them to get an exact match. And I didn't do that. It takes a lot of time. And you know what? For this pattern, it doesn't matter. Why is that not important? 3. This is a stretch knit fabric pattern. It is very forgiving. The final fabric will stretch enough to make it fine. And since there's only a 1/2" seam allowance, it won't be off in any significant way. Thanks for following along! Now you have all of your pattern pieces for a knit surplice top.
0 Comments
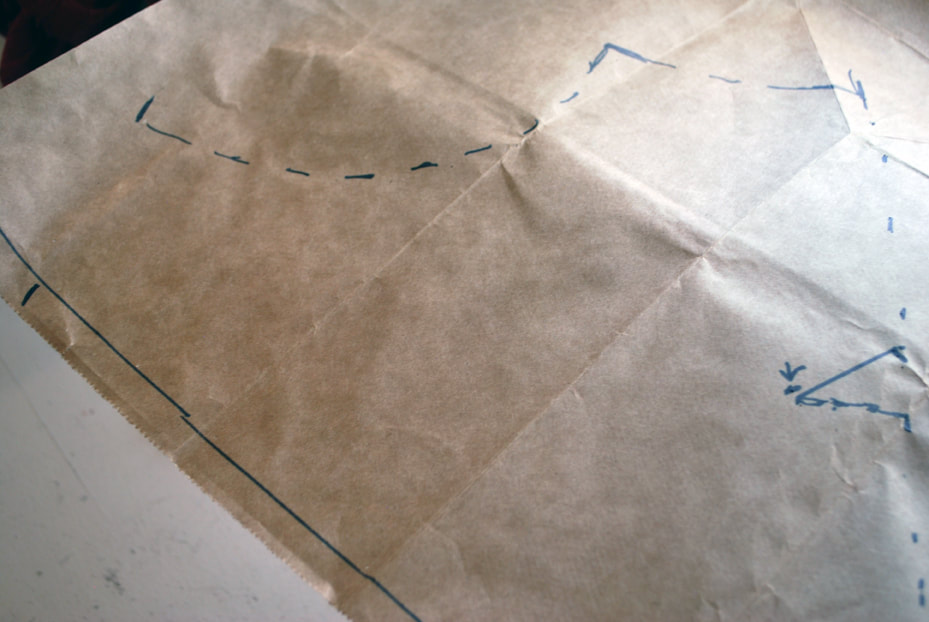
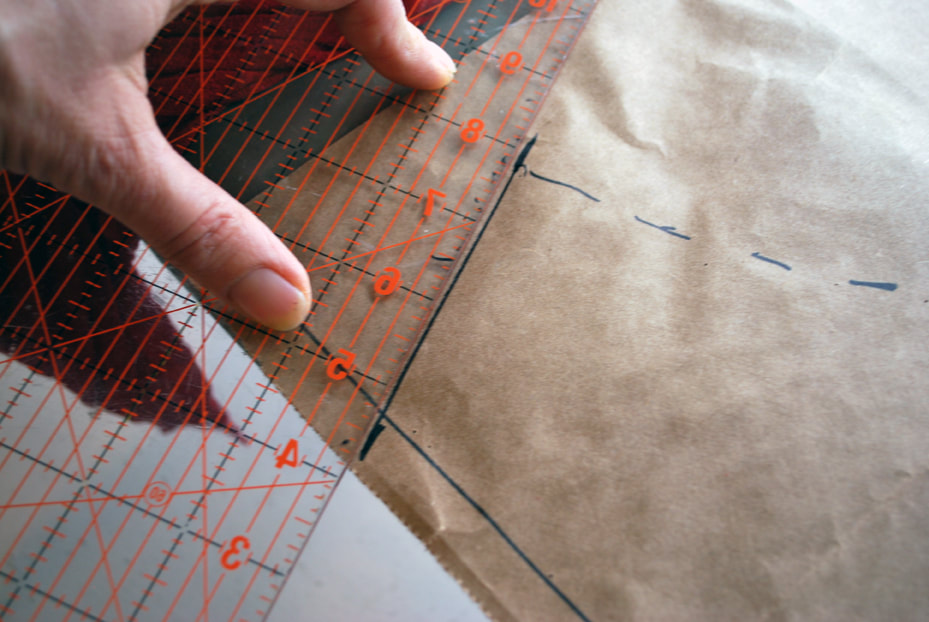
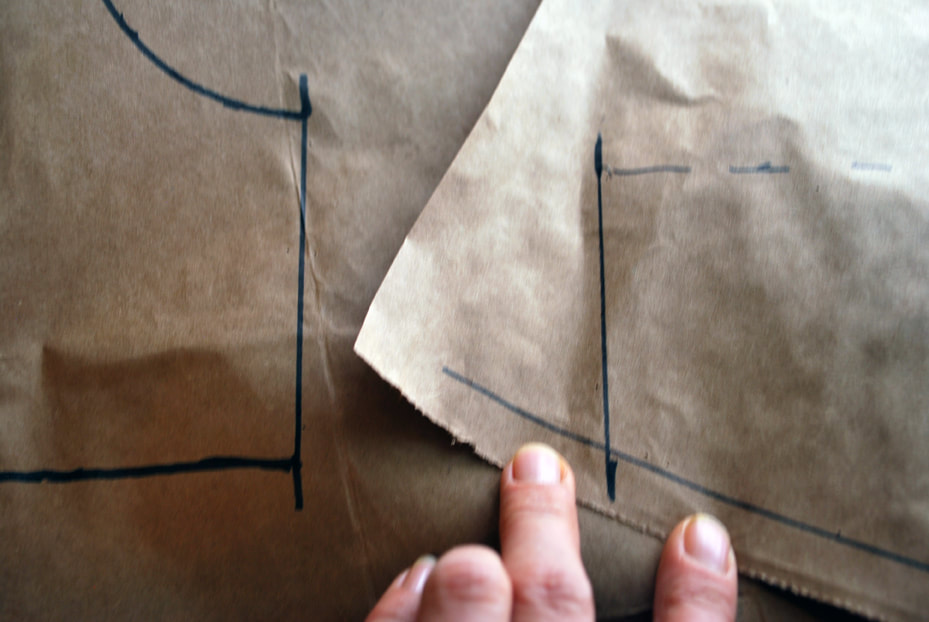
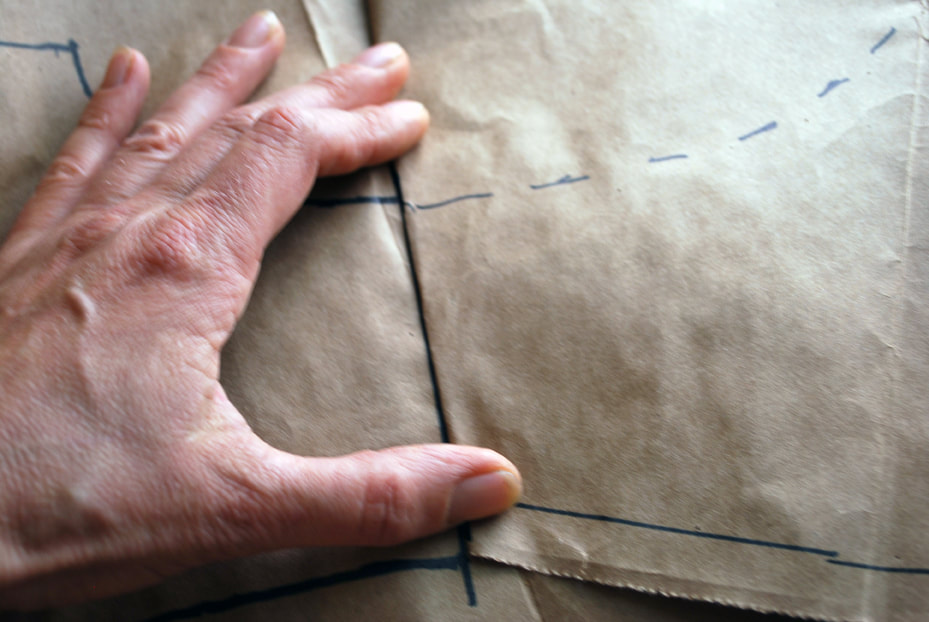
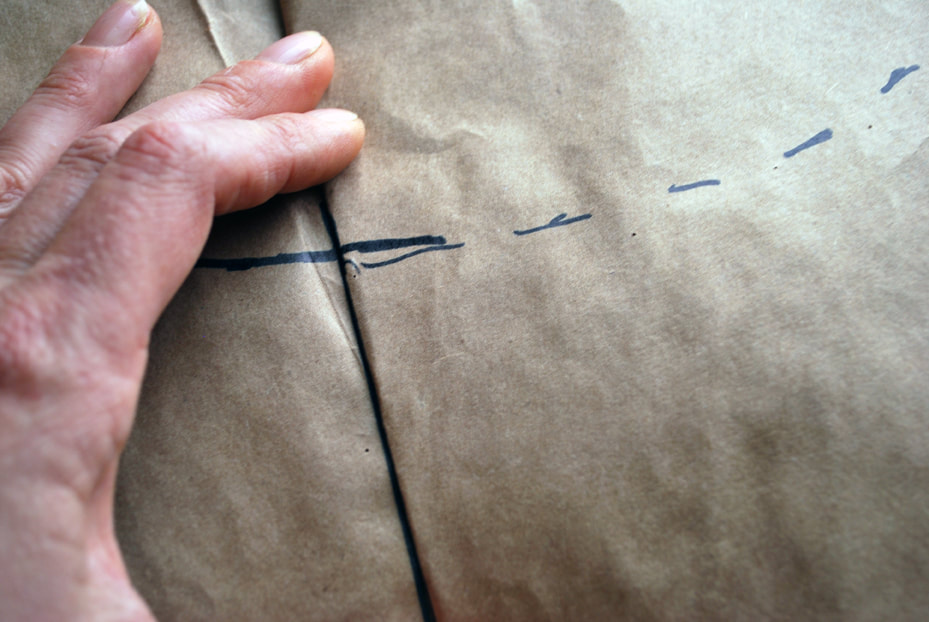
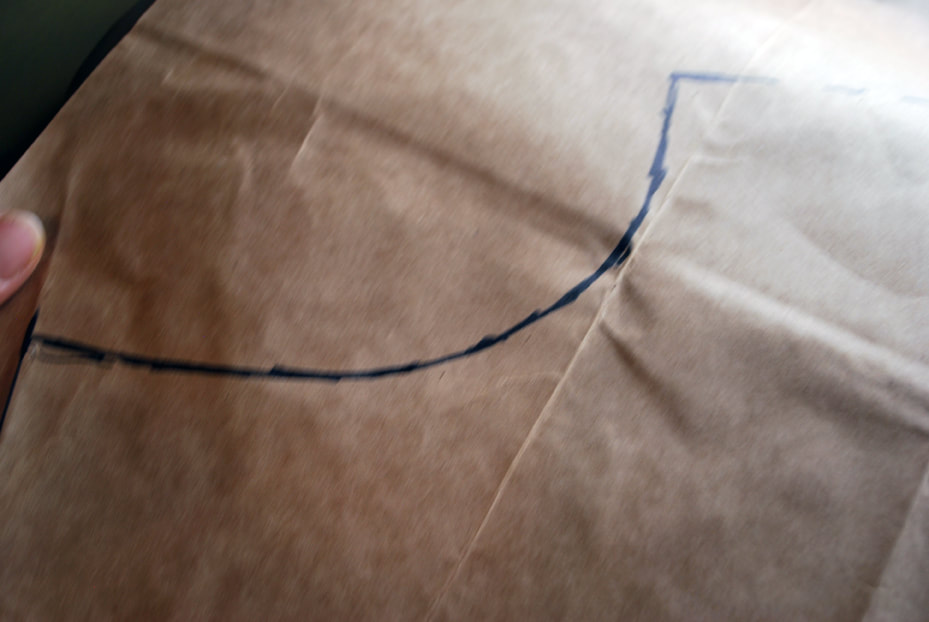
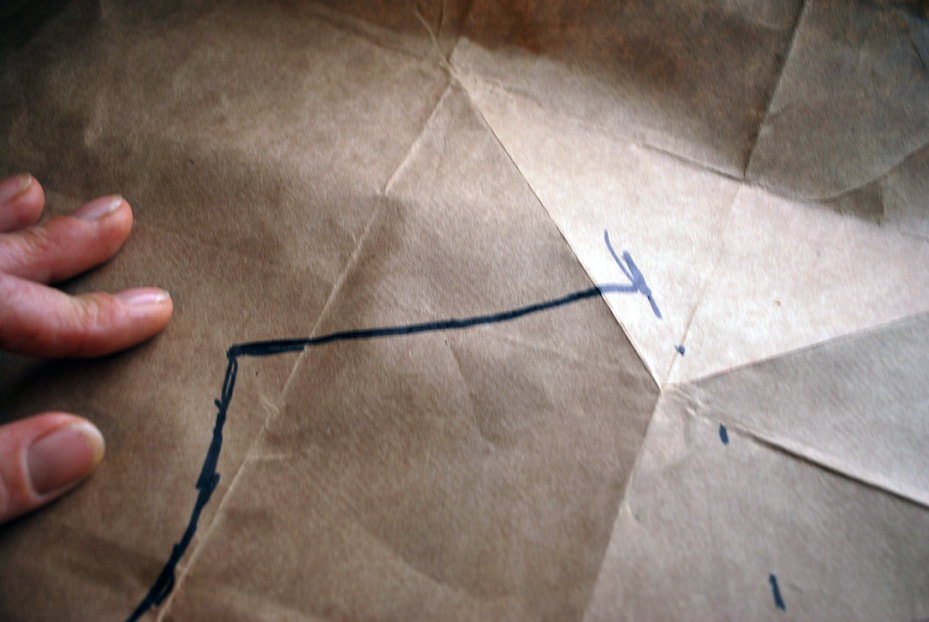
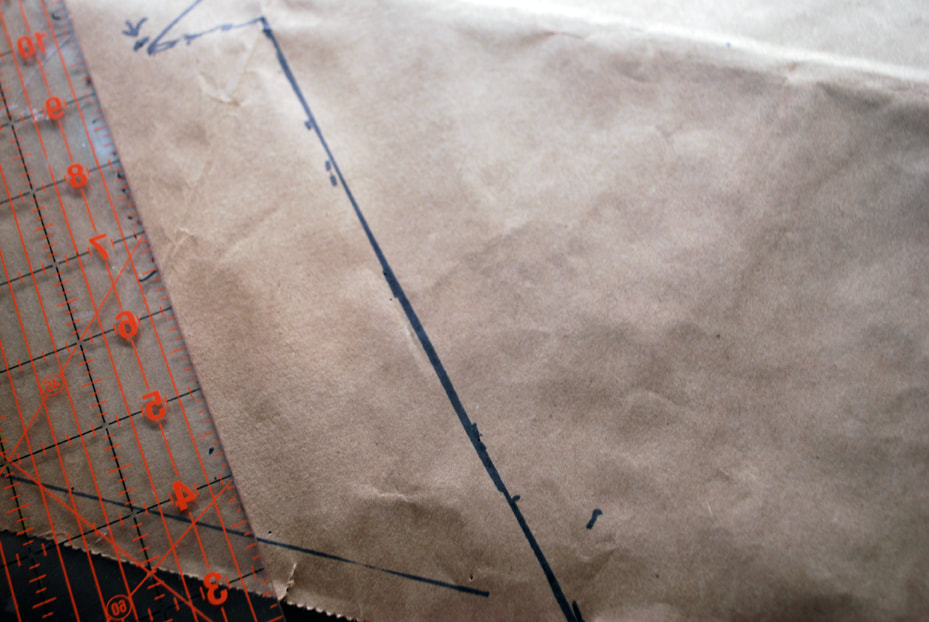
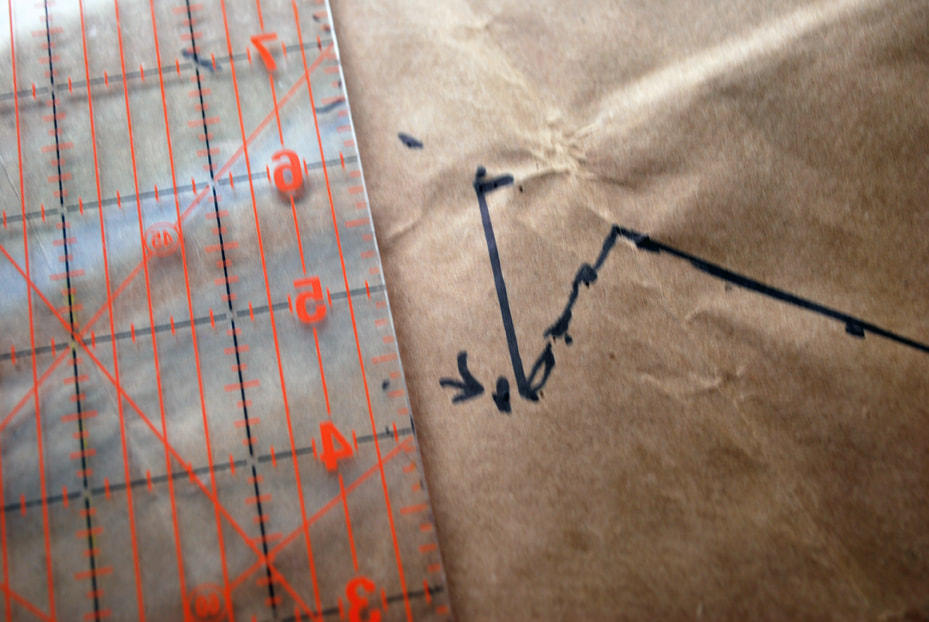
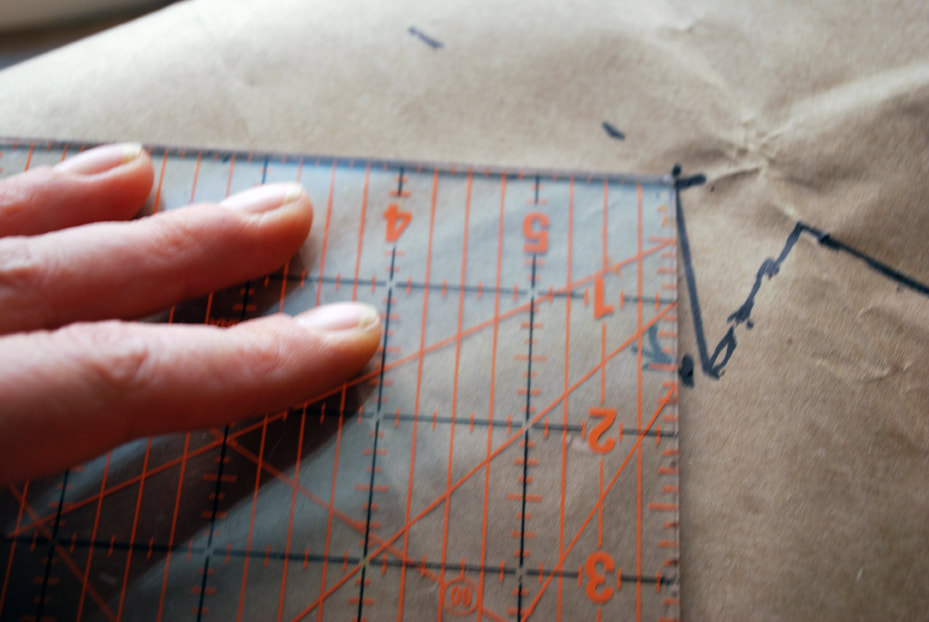
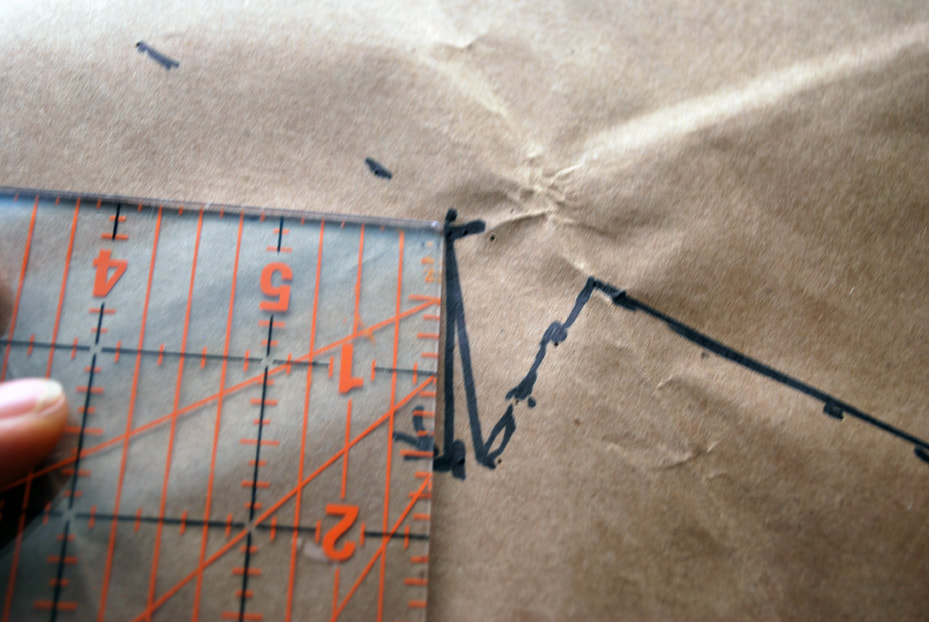
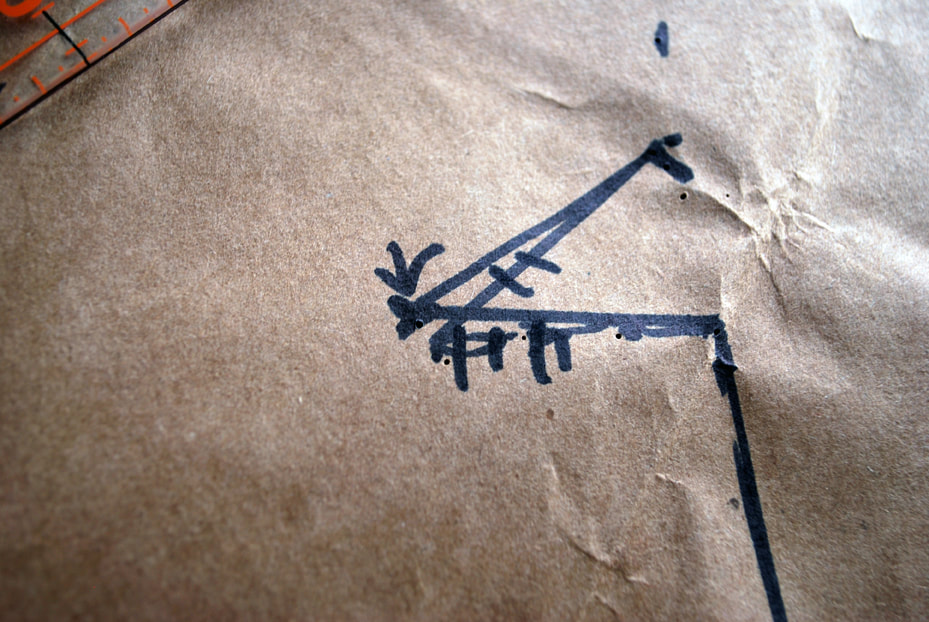
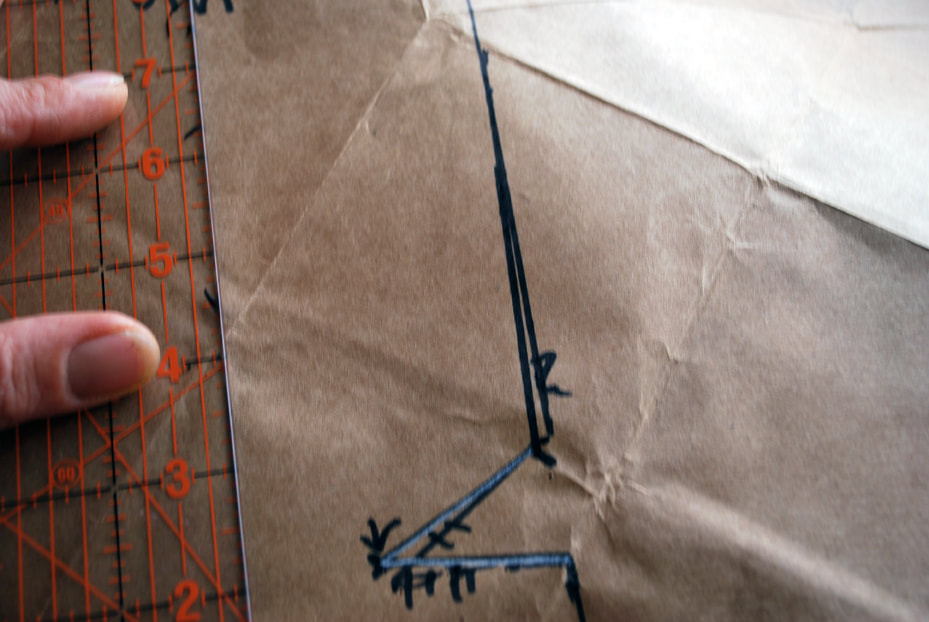
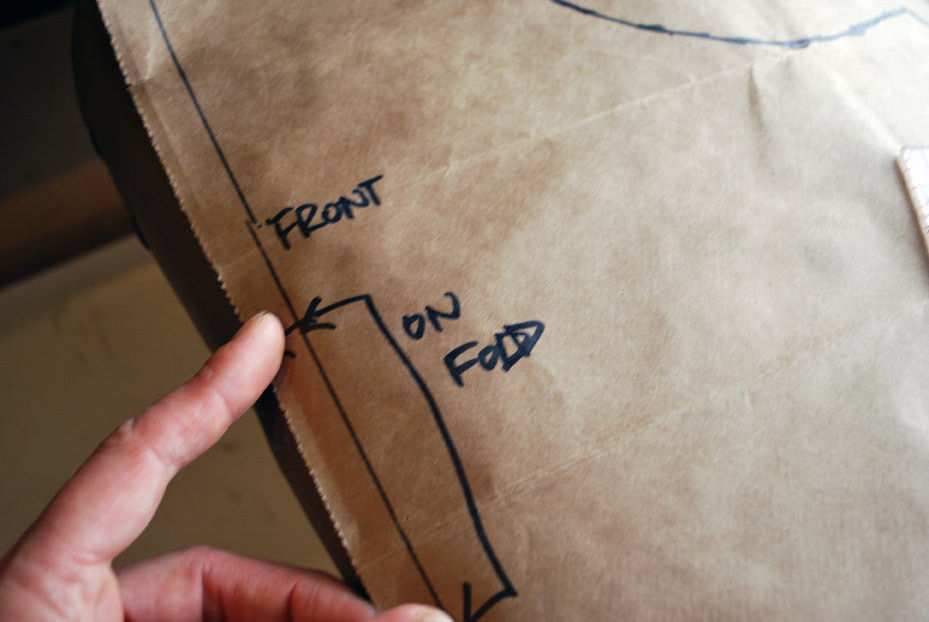
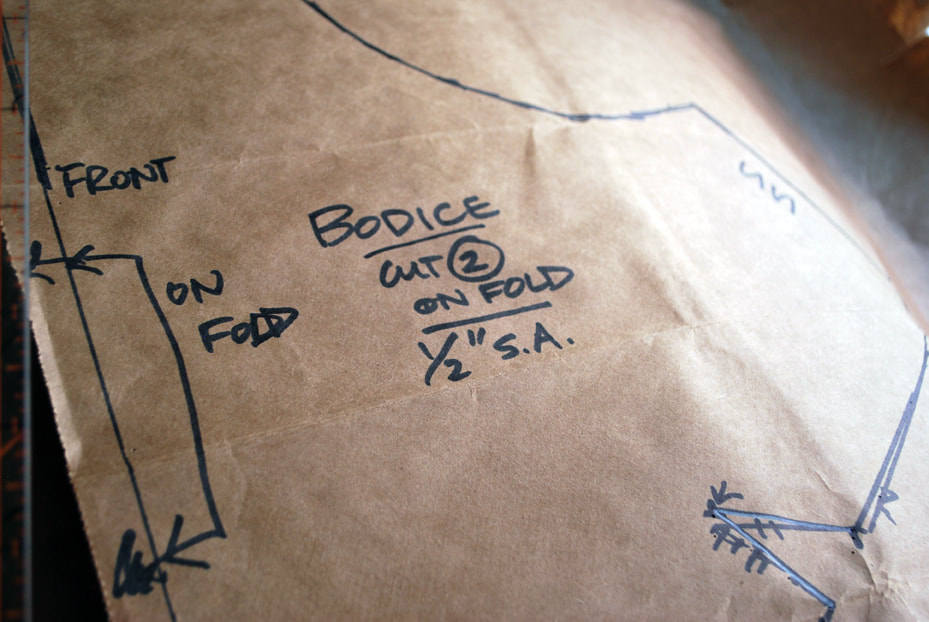
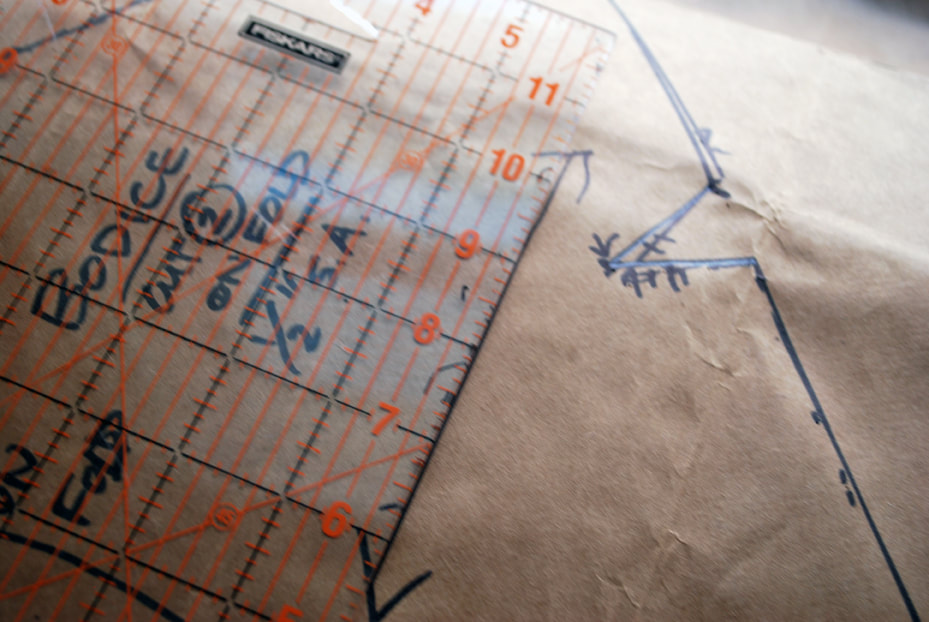
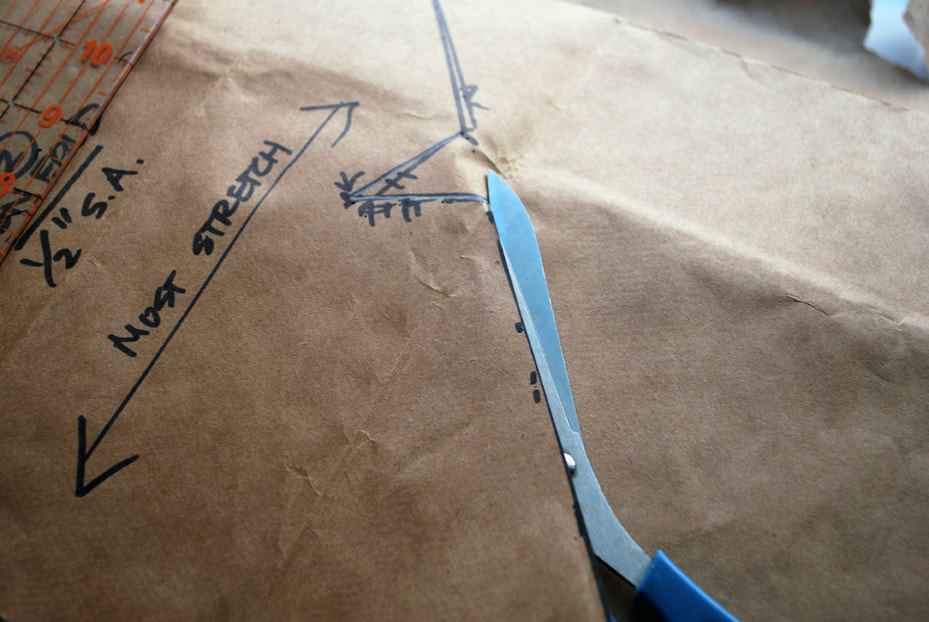
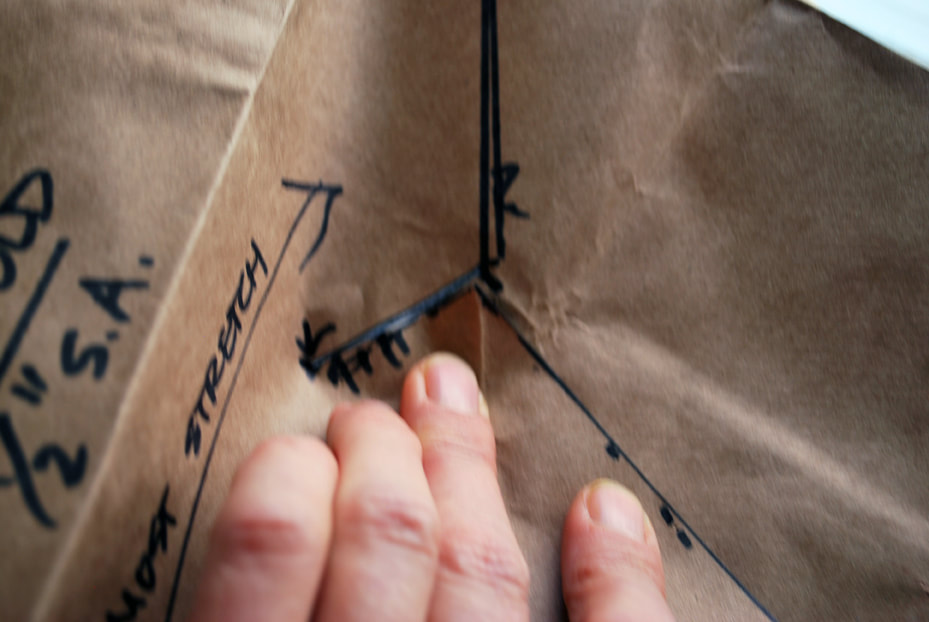
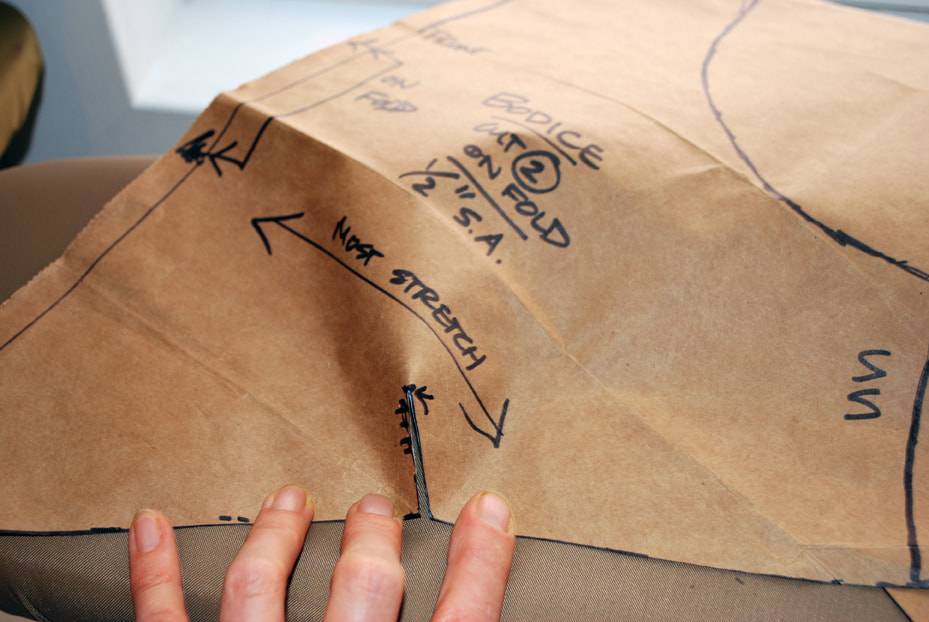
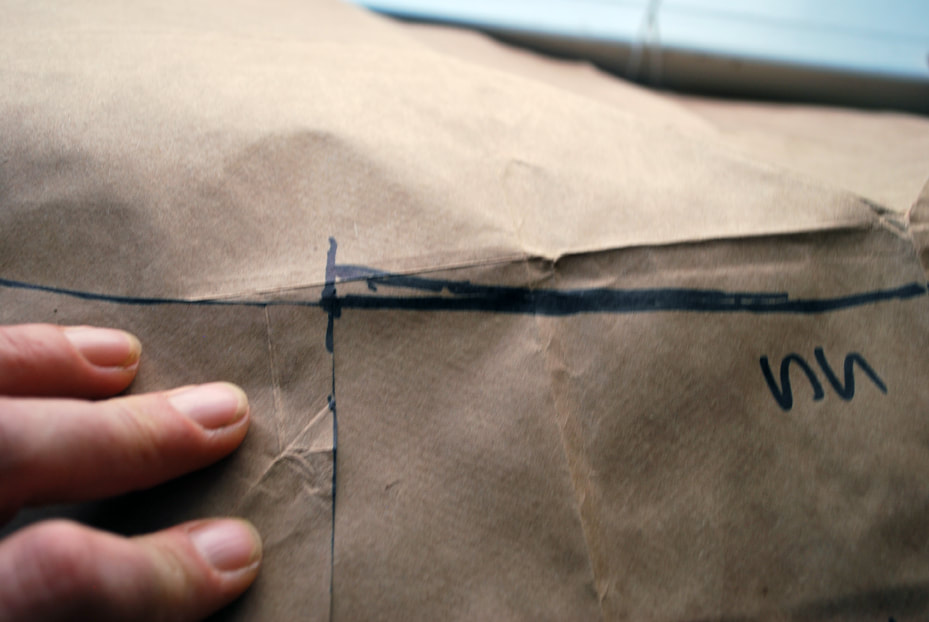
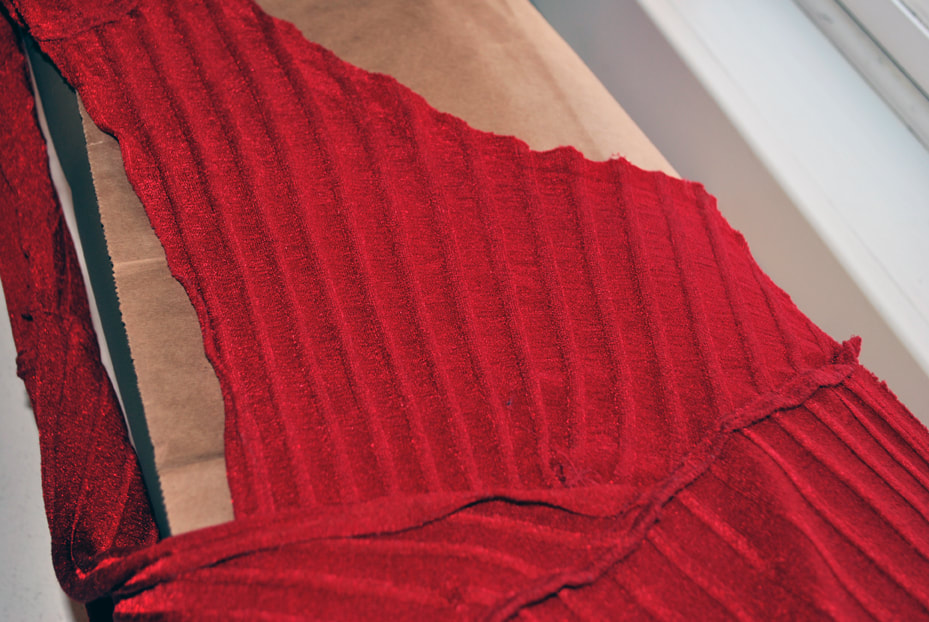
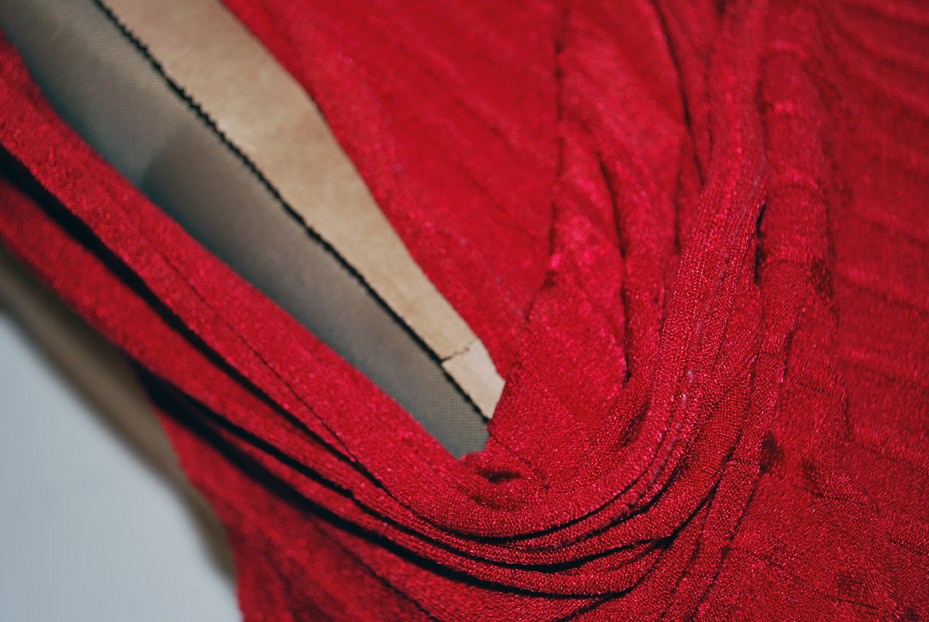
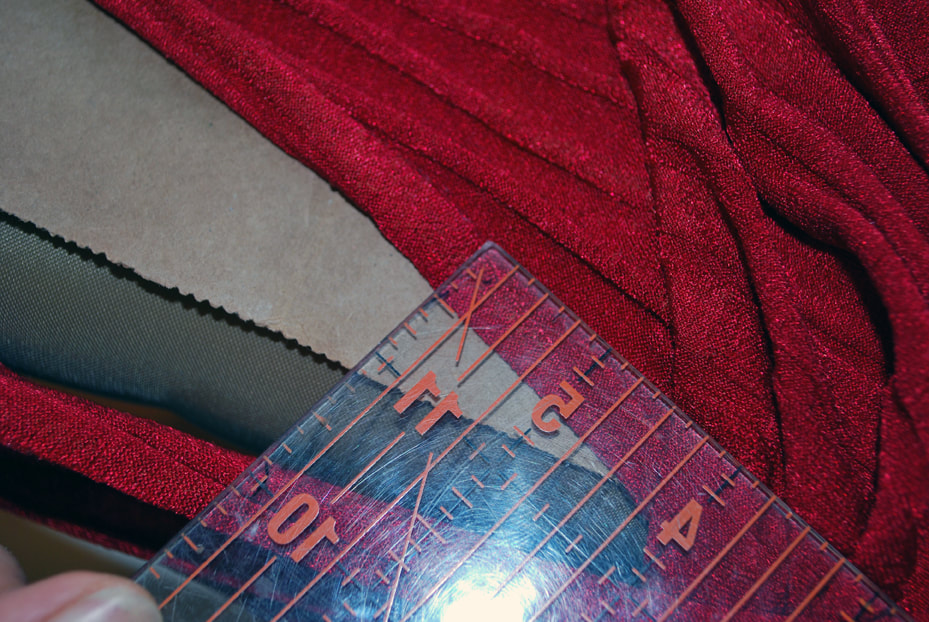
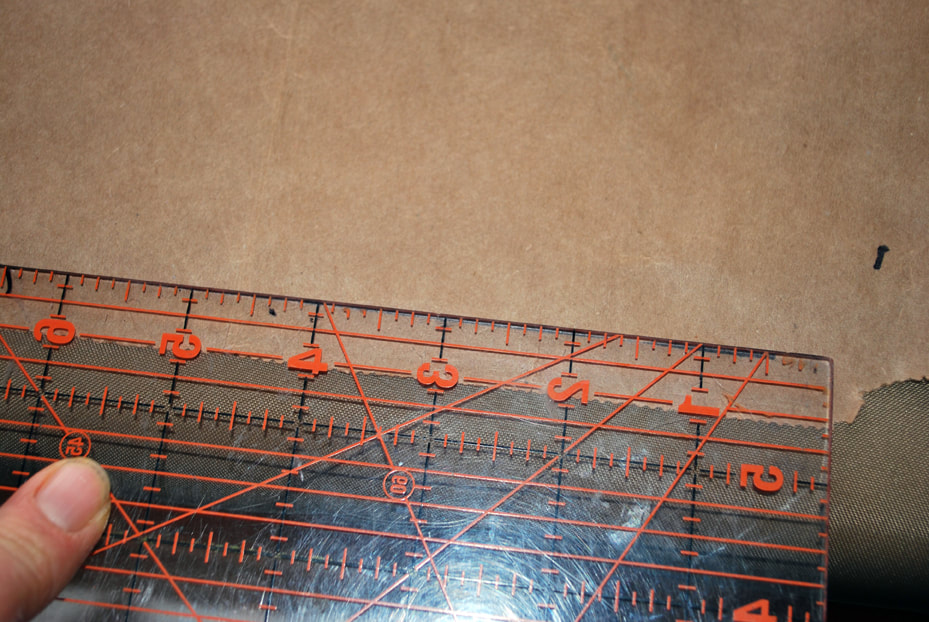
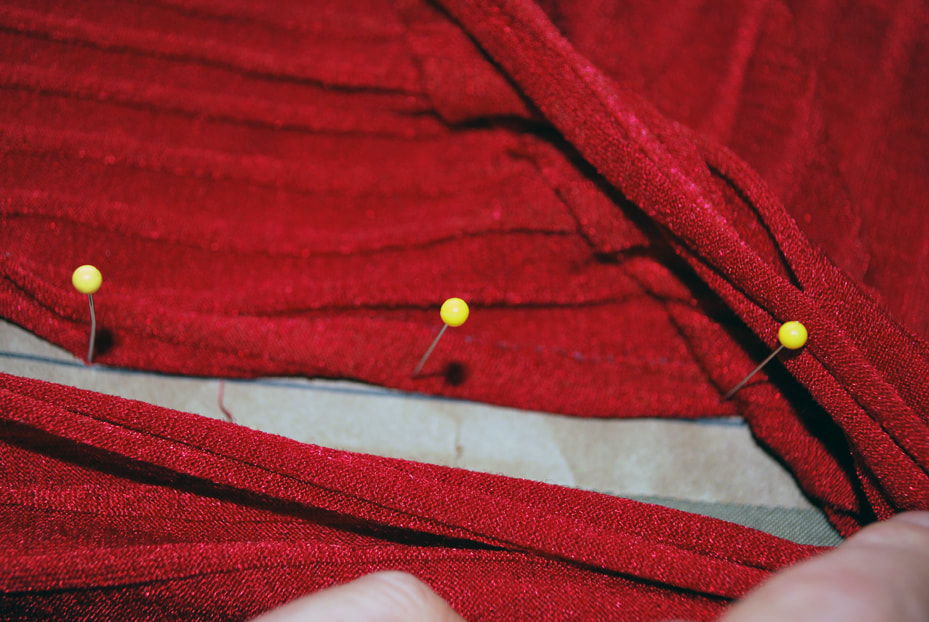
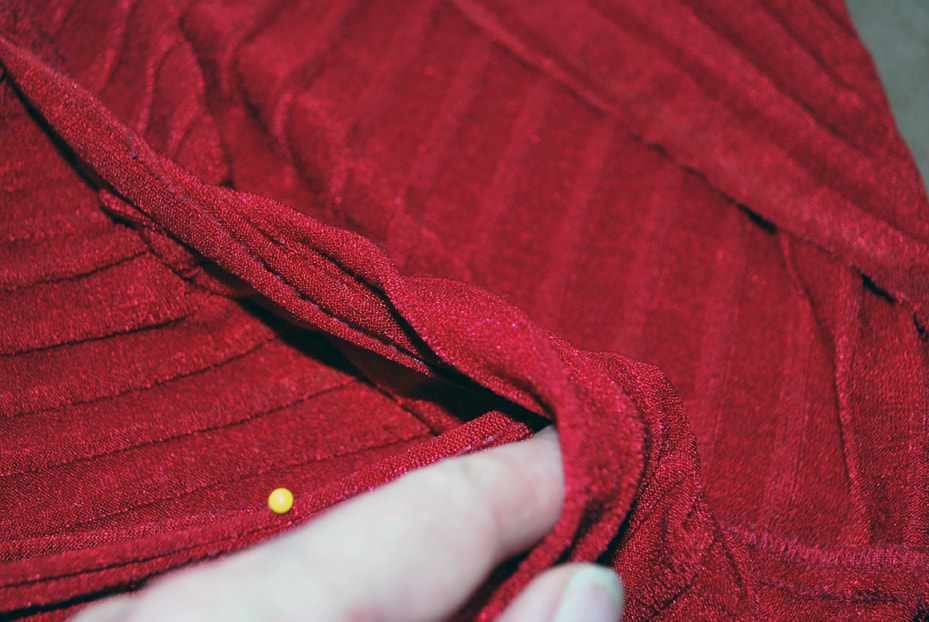
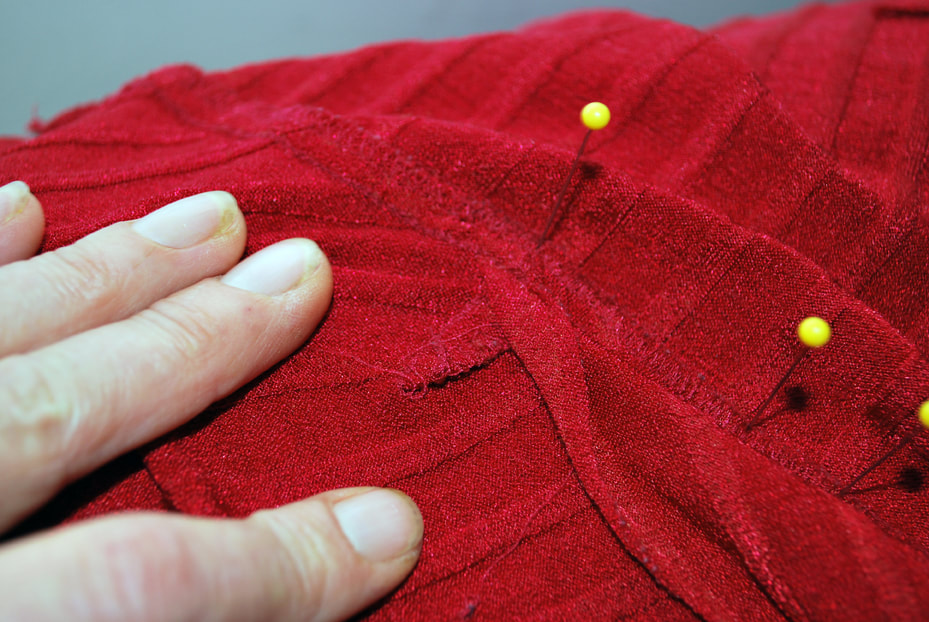
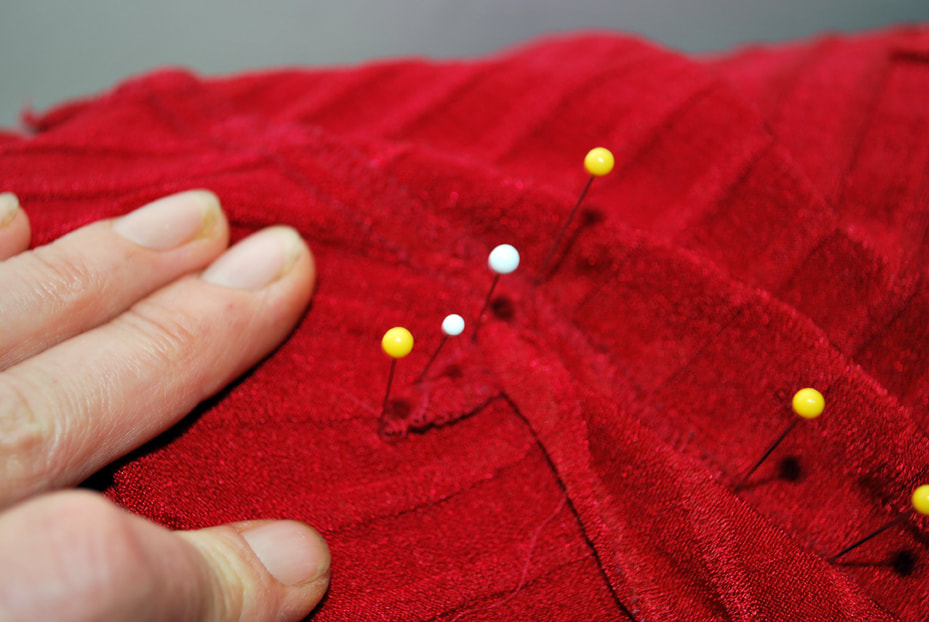
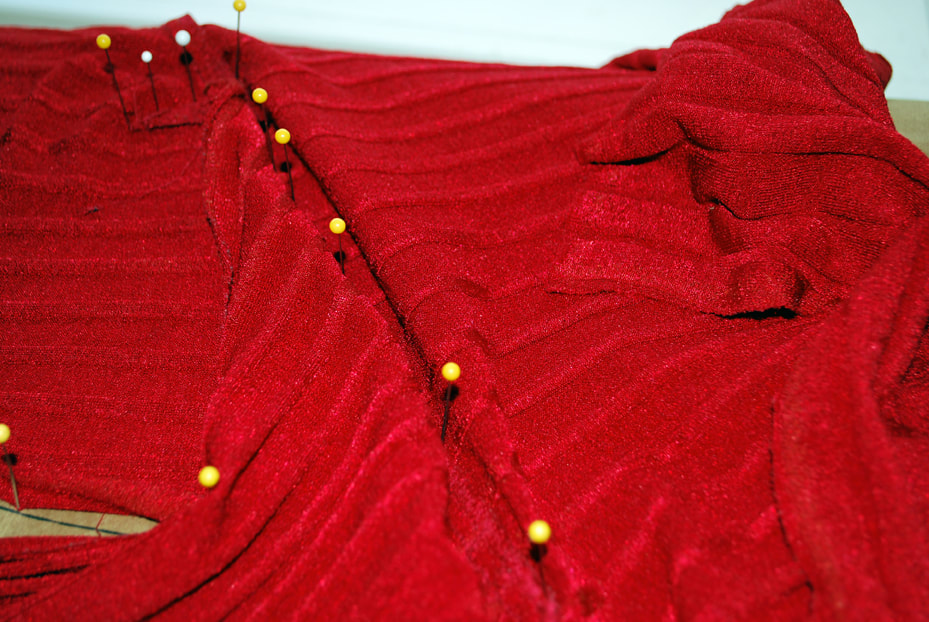
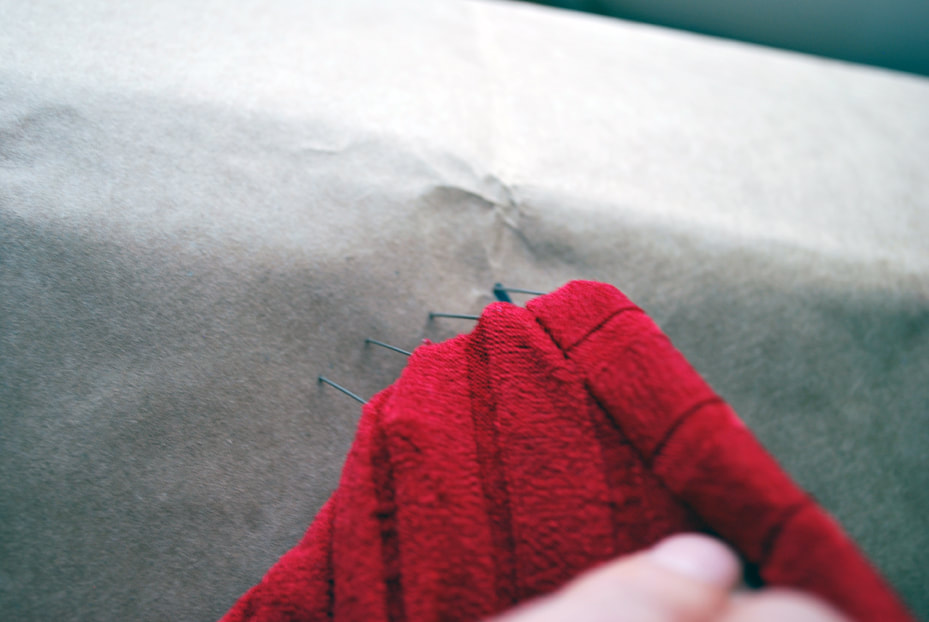
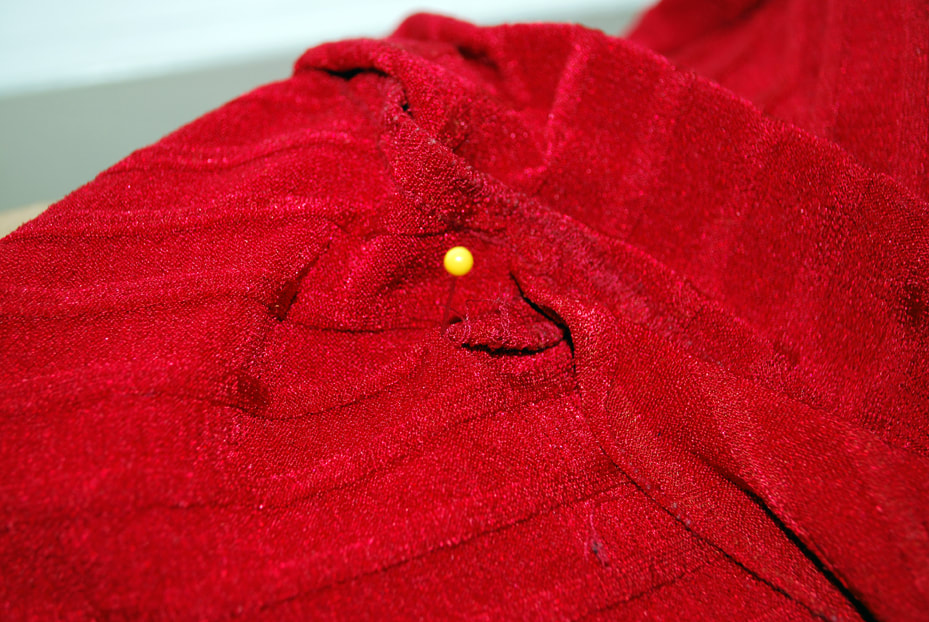
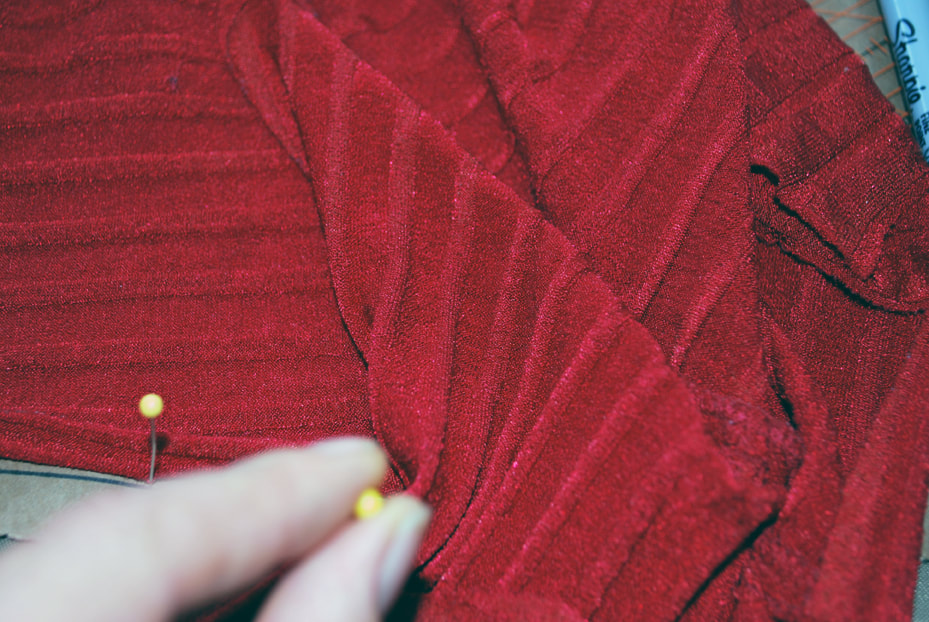
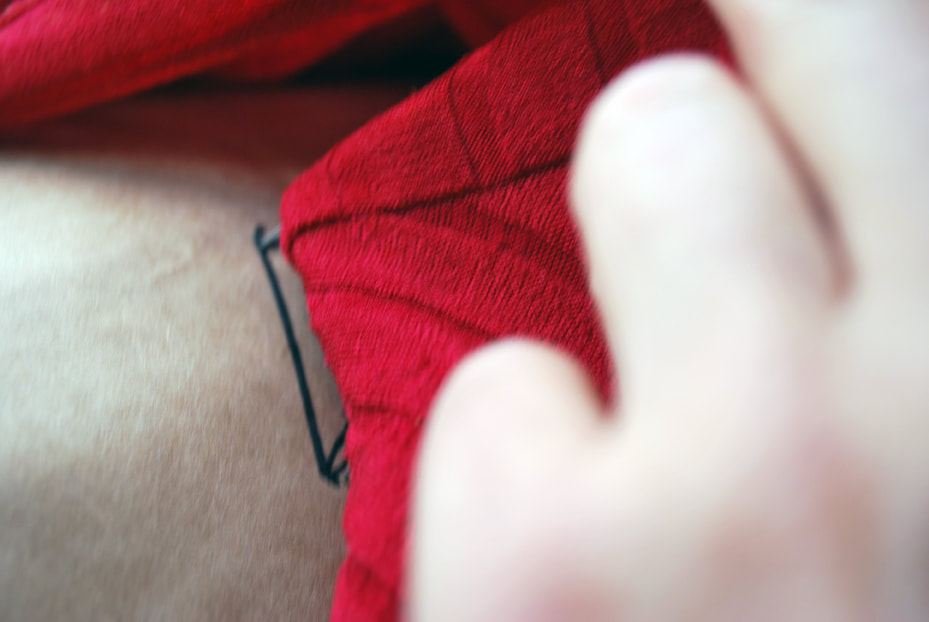
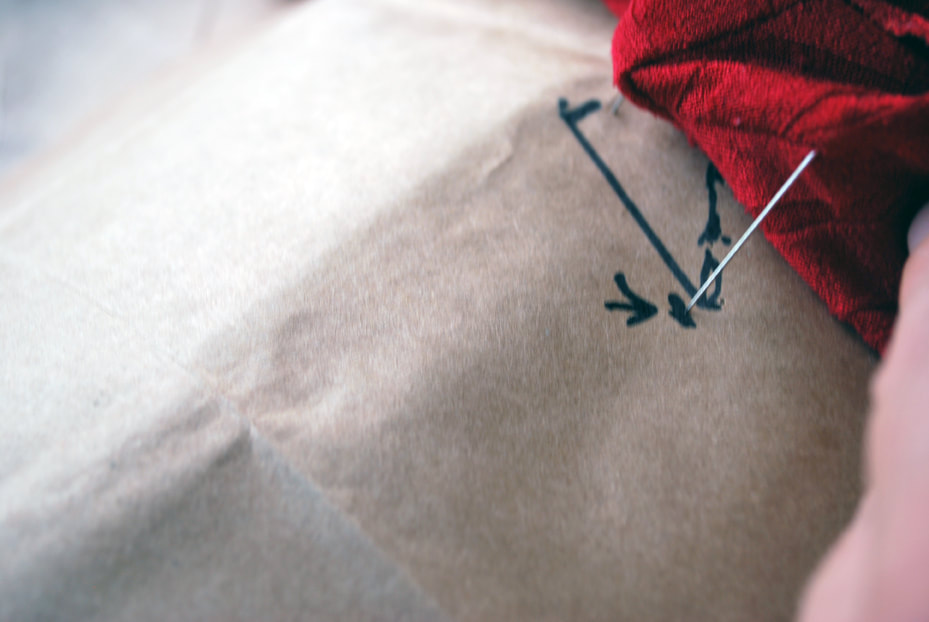
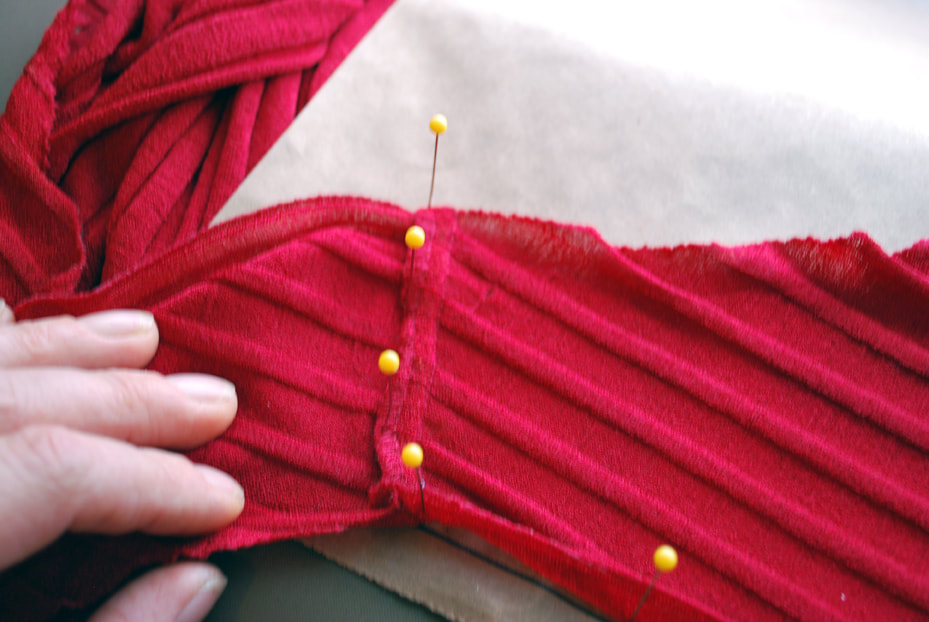
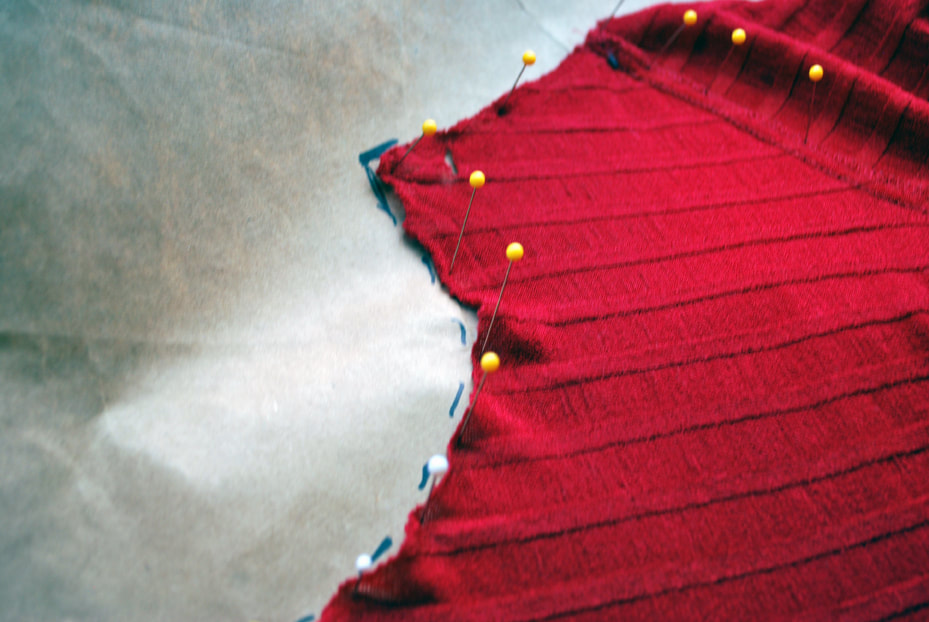
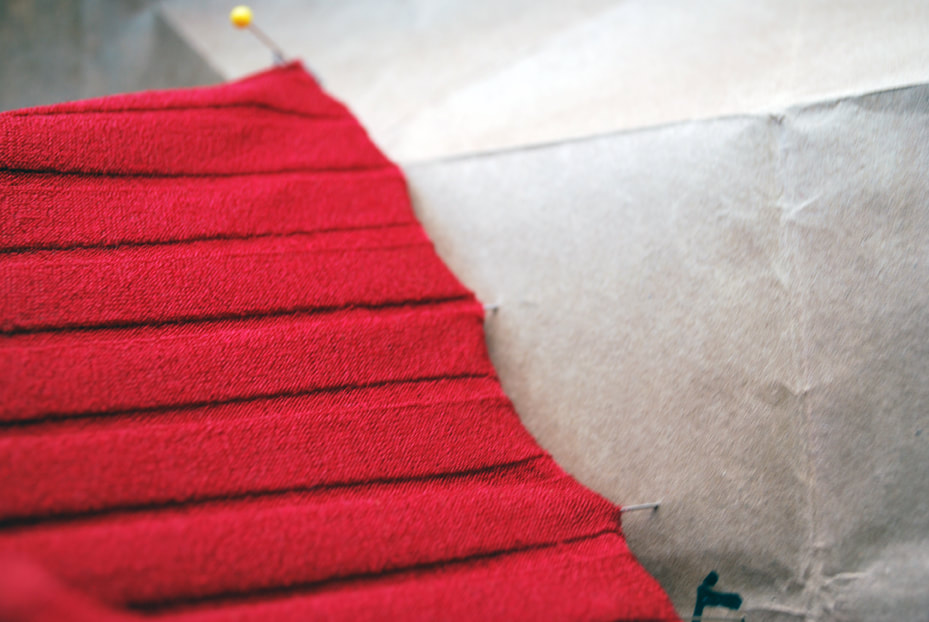
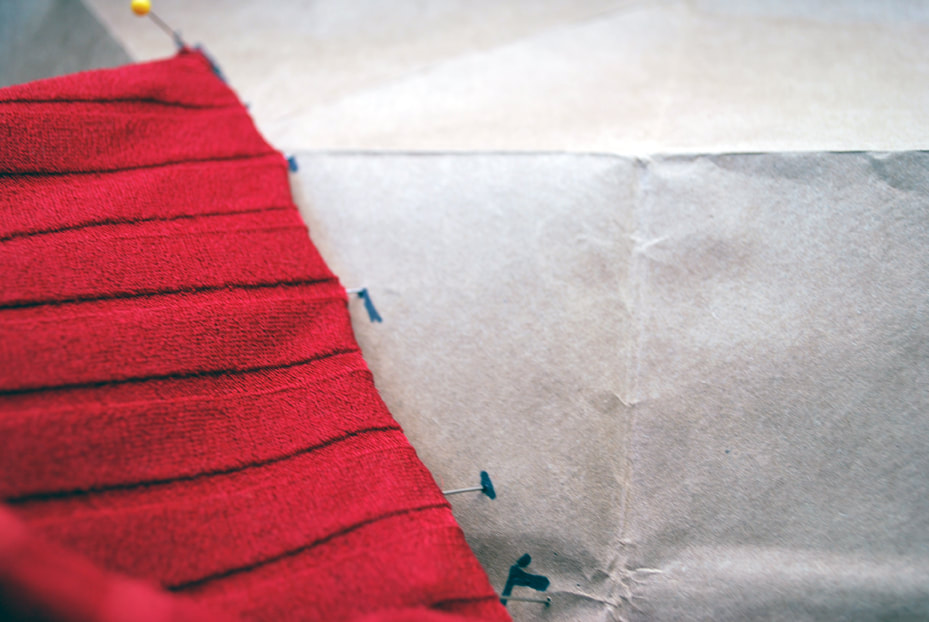
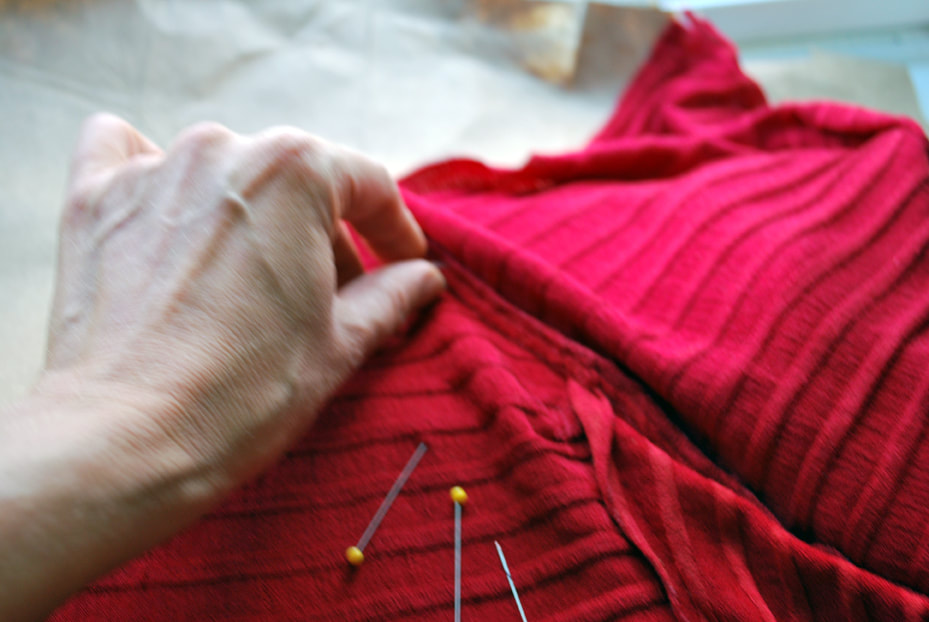
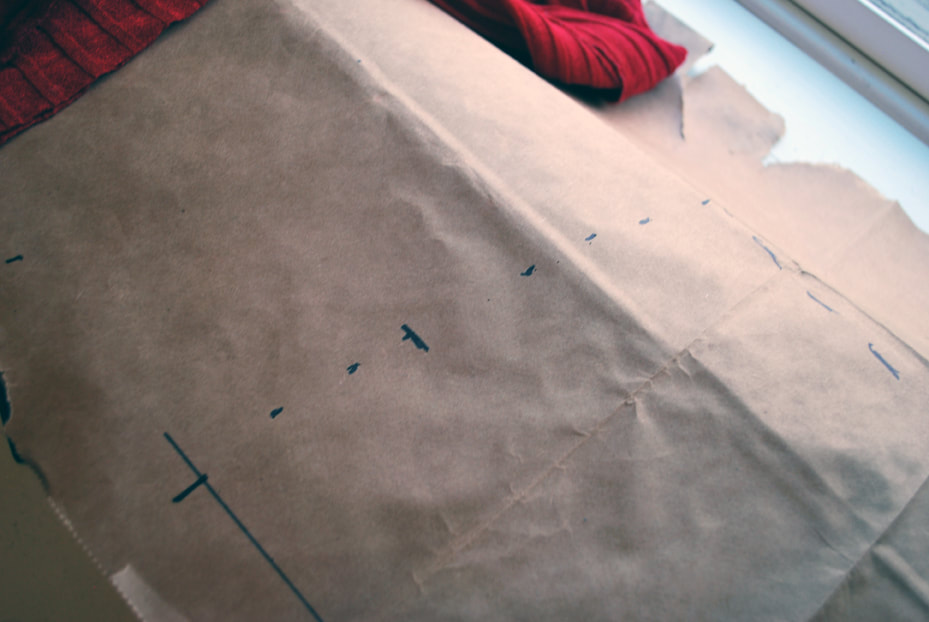
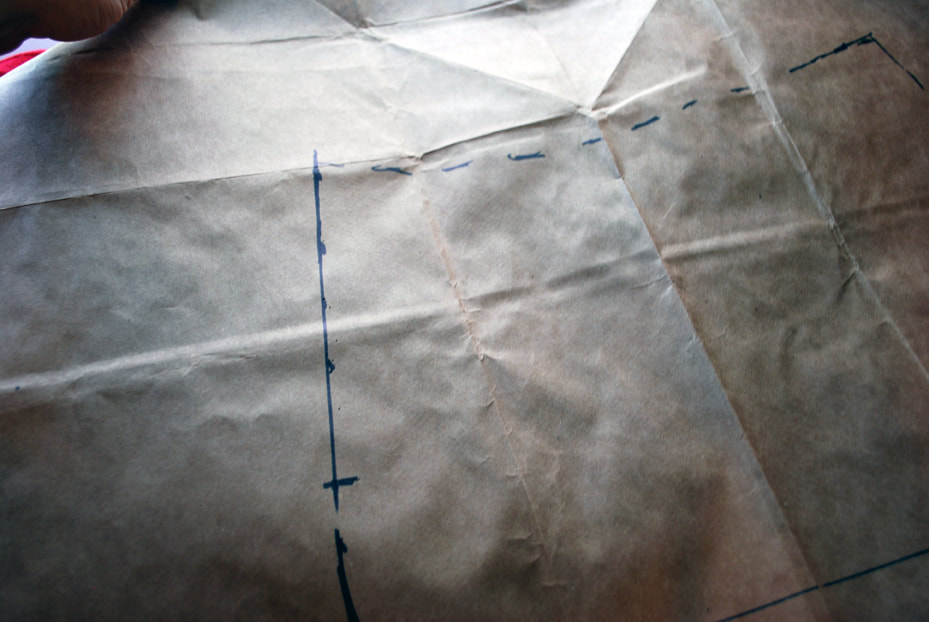
Okay! It's now time to pattern out the bust panels. You'll need another dismantled paper bag, straight pins, a pen or pencil, a ruler and the top you're patterning.This is a little more complicated than the other pieces. The bust panels each have a dart and it will take some folding and fussing to see our lines clearly. But have no fear! You will get it. There are just a few more steps involved. We're also only patterning one bust panel, since they are both identical. Clothing manufacturers assume that all women have 2 boobs of equal size. This isn't always fair or true, but it is how this top was made. Here are the steps in picture format: Keeping the seam allowances folded away from the body of whatever you're patterning helps a lot. It lets you see the seam lines clearly and also lets you pin out an exact seam allowance. That way, you don't have to add those allowances later.
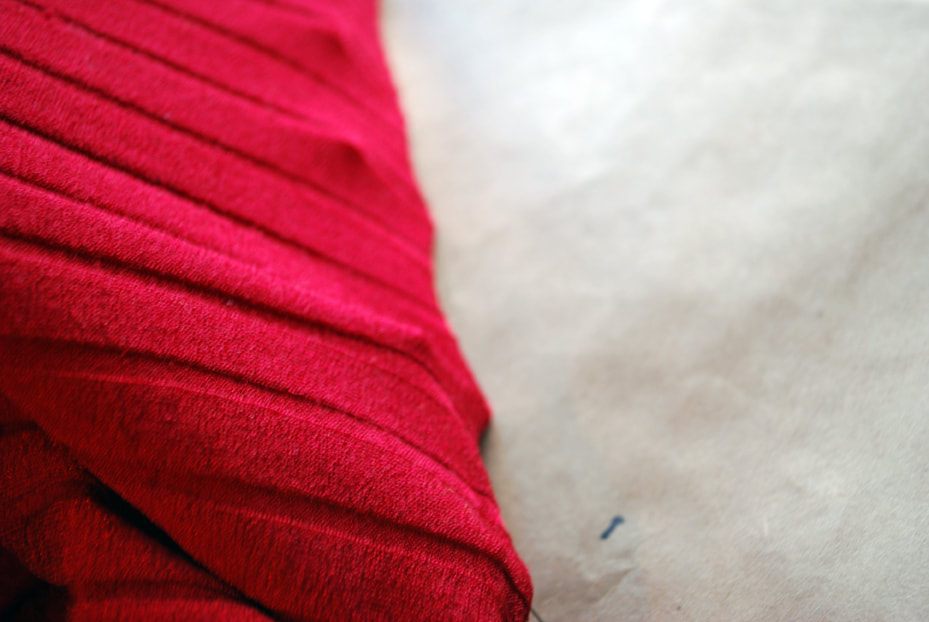
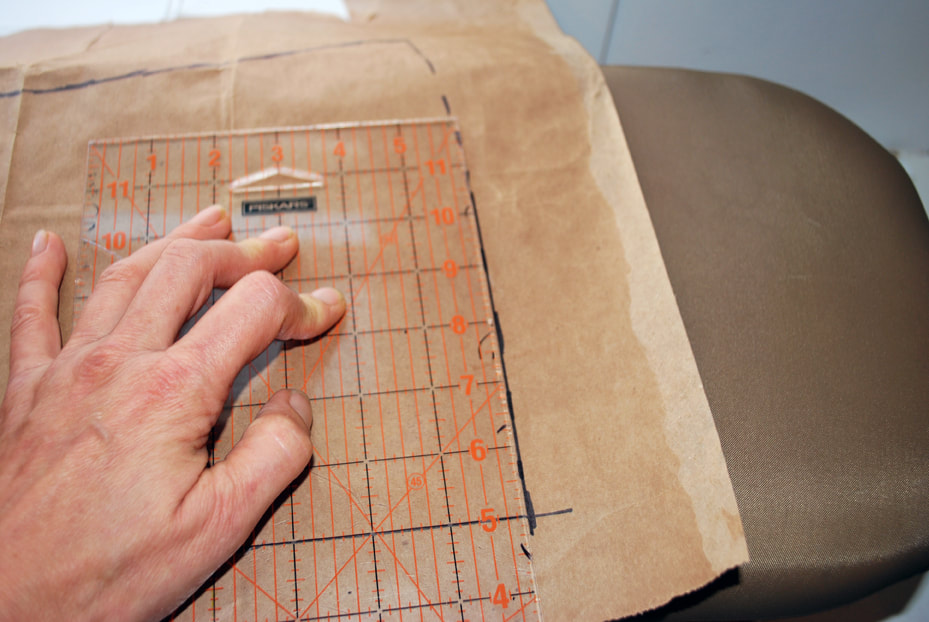
Congratulations! You've patterned the bust panel. Next time we'll clean up the paper pattern. And now back to our regularly scheduled patterning! We're putting the tummy panel of our knit top on paper. For this part, you'll want a ruler, a pen or pencil and the paper you used last time. We'll also make a little adjustment to our back pattern, so drag that out from wherever you stashed it. Here are the steps in photo format: Smooth straight lines and smooth curves makes for smooth seam lines. If you draw in jagged or bumpy lines, you'll get a jagged or bumpy looking finished product. So keep it smooth unless you really want those bumps!
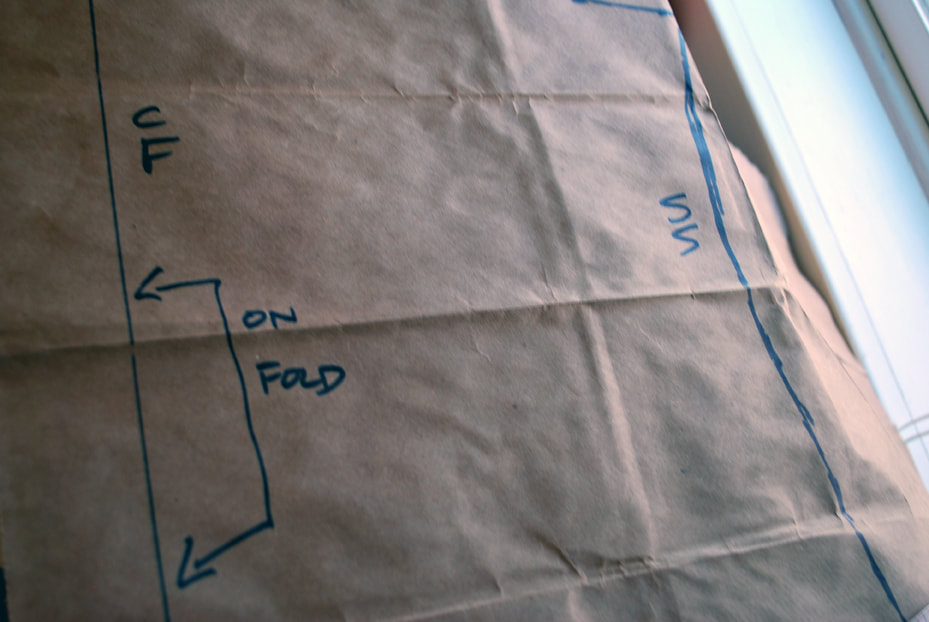
Maybe you don't need all of this information written on your pattern. Your memory may be better than mine. All I'm saying is that writing it down makes SURE you won't forget it. Voila! You've patterned a back panel and a tummy panel. Next time we'll work on the bust panels. |
A. Laura Brody
I re*make mobility devices and materials and give them new lives. Sometimes I staple drape. Archives
April 2024
|


 RSS Feed